- Why Every Pool Needs Proper Winterization
- Planning Your Pool Closing: The Pre-Work for Success
- The Essential Steps for a Smooth Pool Closing
- Effortless Winterization Secrets for a Smooth Spring Opening
Pool Closing is a crucial annual ritual for any pool owner living in a region exposed to freezing temperatures. Far from being a dreaded chore, approaching winterization with a structured plan and a few key insights can transform it into an effortless process that safeguards your investment and promises a sparkling return in spring. Properly preparing your pool for the off-season prevents costly damage, minimizes maintenance troubles, and extends the lifespan of your entire system.
Why Every Pool Needs Proper Winterization
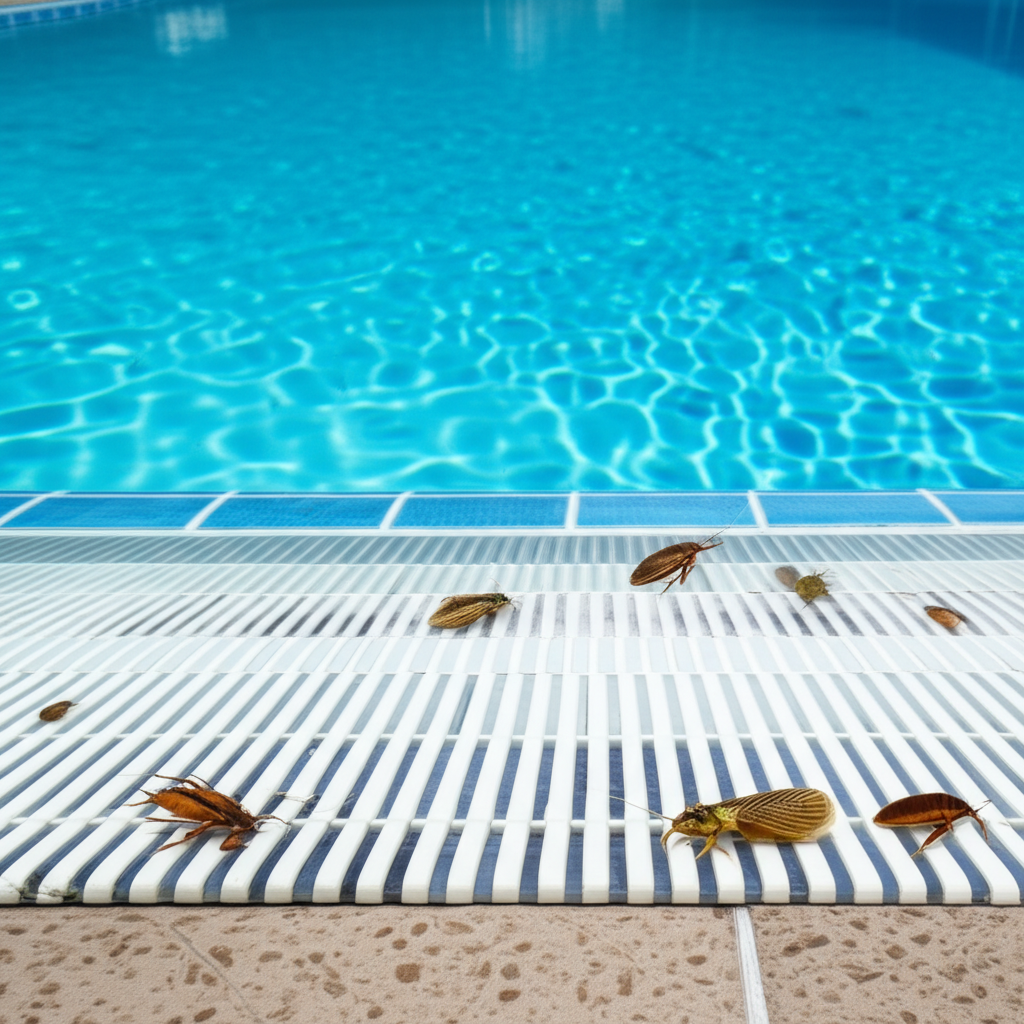
Neglecting to prepare your pool for winter can lead to a host of expensive and time-consuming problems. Freezing water expands, and if left in your plumbing lines, filter, pump, or skimmer, it can cause pipes to crack, equipment housings to burst, and structural damage to the pool itself. Beyond physical damage, an improperly closed pool can become a breeding ground for algae and bacteria, turning your clear water into a green, murky mess by spring. This not only requires extensive cleaning and chemical treatments when you reopen but also uses up valuable time you’d rather spend swimming. Winterizing a pool effectively is about proactive protection, ensuring a smooth transition when the warmer weather returns.
Planning Your Pool Closing: The Pre-Work for Success
Before you even think about putting on the pool cover, some essential preparations pave the way for an “effortless” experience.
Timing is Everything: The ideal time for pool closing is typically when consistent daytime temperatures drop below 60°F (15°C) but before the first hard freeze. Closing too early can encourage algae growth due to warmer water and stagnant chemicals, while closing too late risks damage from an unexpected cold snap.
Gather Your Supplies: A successful winterization requires specific tools and chemicals. Ensure you have:
A reliable water testing kit.
Winterizing chemicals (algaecide, shock, stain/scale preventative).
Non-toxic pool antifreeze (if required for specific equipment).
Gizzmos for skimmers (if applicable).
Winter plugs for return lines.
An air compressor or shop vacuum for blowing out lines (especially for inground pools).
Your winter pool cover and all its securing hardware.
Brushes, skimmer net, and vacuum for a thorough cleaning.
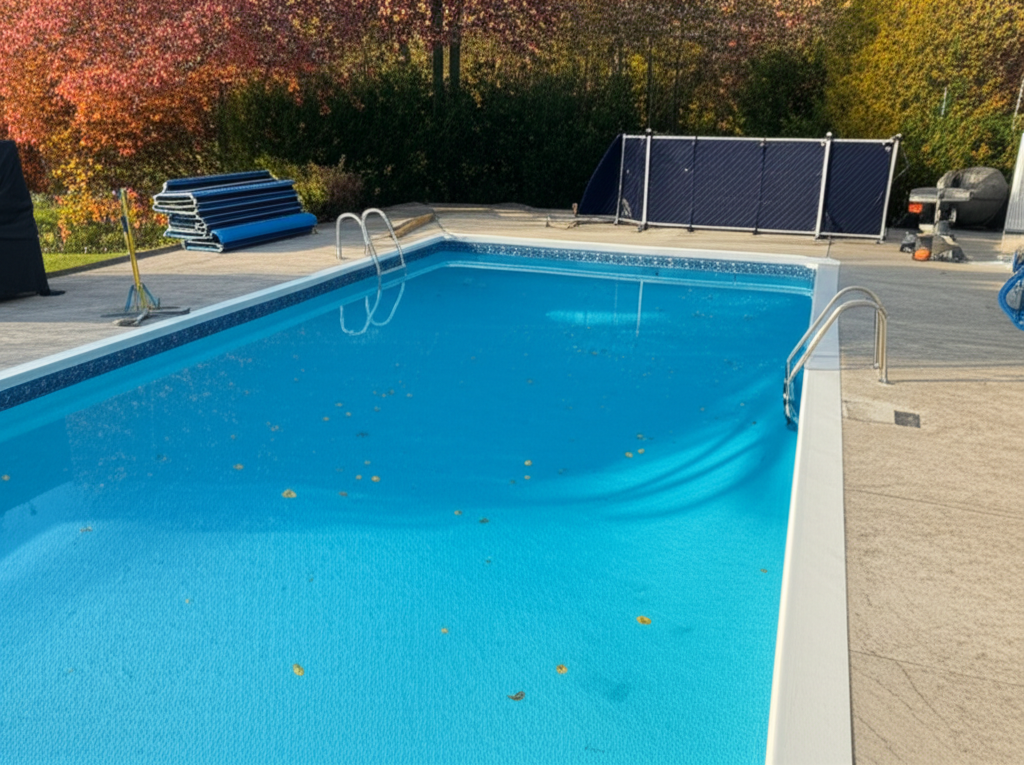
Cleanliness is Paramount: You wouldn’t put dirty dishes away, so don’t put a dirty pool to bed for the winter. Before adding any winter chemicals, ensure your pool is as clean as possible. Skim all debris from the surface, vacuum the floor thoroughly, and brush the pool walls and steps to dislodge any lurking dirt or algae. A clean pool is less likely to develop problems over the winter.
The Essential Steps for a Smooth Pool Closing
Once your pool is clean and your supplies are ready, follow these crucial steps to ensure proper winterization:
1. Balance the Water Chemistry: This is perhaps the most critical step. Test your pool water and adjust the pH (7.4-7.6), alkalinity (80-120 ppm), and calcium hardness (180-220 ppm) to optimal levels. Balanced water allows winterizing chemicals to work most effectively and prevents staining or scaling during dormancy.
2. Add Winterizing Chemicals: With balanced water, it’s time to introduce your winterizing cocktail.
Winterizing Algaecide: This is your primary defense against algae growth. Choose a formula designed for winter use.
Pool Shock: Super-chlorinate the water to kill off any remaining bacteria or contaminants. Allow the chlorine level to dissipate before covering to avoid potential cover damage.
Stain/Scale Preventative: Protects your pool surfaces and equipment from mineral stains and scale buildup, especially in areas with hard water.
Flocculants/Clarifiers (Optional): Some owners add these to help clarify the water before closing.
Allow your pump to run for several hours (or according to chemical instructions) to thoroughly circulate these chemicals throughout the pool.
3. Lower the Water Level: For inground pools, lower the water level to below the lowest return jet and skimmer opening. This prevents ice expansion from damaging the skimmer and plumbing. For above-ground pools, you generally only need to lower the water a few inches below the skimmer opening, as the structure is more flexible.
4. Drain and Winterize Equipment: This step is crucial for protecting your expensive pool equipment from freezing.
Pump & Filter: Turn off the power at the breaker. Remove all drain plugs from your pump, filter (sand, cartridge, or D.E. filters all have specific draining procedures), and heater. Store plugs in the pump basket to keep them together.
Heater & Chlorinator: Ensure these are completely drained. For heaters, blow air through the heat exchanger to ensure no water remains. Disconnect and store any automatic chlorinators or feeders.
Plumbing Lines: This is where an air compressor or powerful shop vac comes in handy. For inground pools, blow air through each return line and skimmer line until no water emerges from the pool side. As each line is cleared, immediately plug it with a winterizing plug to prevent water from re-entering. Add non-toxic pool antifreeze to deeper lines for extra protection if desired. Remove skimmer baskets and potentially install Gizzmos.
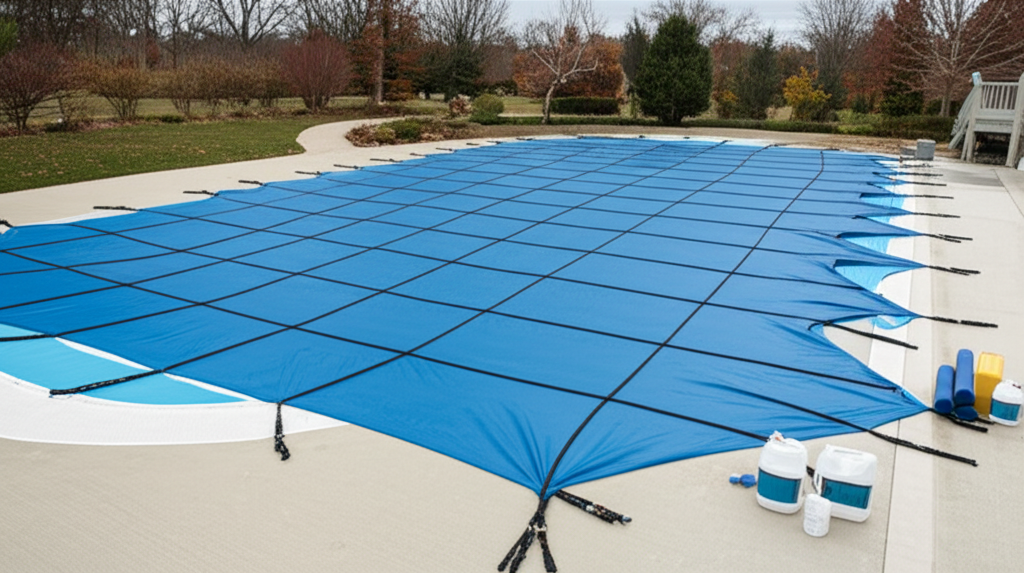
5. Install the Pool Cover: With all equipment drained and lines plugged, it’s time for the final protective layer. Clean your winter cover before putting it on. Carefully position the cover over the pool, ensuring it is properly centered and taut. Secure it according to its type – water tubes for solid covers, spring and anchor systems for safety covers, or tie-downs for above-ground covers. A well-secured cover keeps leaves and debris out, blocks sunlight (which inhibits algae), and helps prevent accidental falls.
Effortless Winterization Secrets for a Smooth Spring Opening
Don’t Rush the Process: Rushing leads to missed steps and potential damage. Allocate a full day or two to properly close your pool.
Keep Records: Note down the chemicals you used, the quantities, and any specific issues you encountered. This helps you refine your process for next year.
Basic Winter Checks: Periodically check your pool cover and water tubes throughout the winter. Clear heavy snow and ice from the cover if applicable, and ensure water tube levels are maintained.
Consider a Professional: If you’re unsure or overwhelmed, especially with inground pool plumbing, hiring a pool professional for your first few closings can be a wise investment. They can quickly and efficiently complete the process, providing peace of mind.
By diligently following these steps for pool closing, you transform a potentially daunting task into a manageable and even “effortless” process. You’re not just putting your pool away; you’re preserving its beauty, extending its life, and making the joyous return to swimming next spring as easy and uncomplicated as possible.