- Why Prioritize a Smooth Pool Opening?
- Your Step-by-Step Guide to a Flawless Pool Opening
- Step 1: Gather Your Supplies and Tools
- Step 2: Remove the Winter Cover and Initial Debris
- Step 3: Clear Debris and Inspect the Pool
- Step 4: Reconnect Equipment and Fill the Pool
- Step 5: Master Your Pool Chemistry for the Season
- Step 6: Run, Monitor, and Fine-Tune Your System
- Effortless Summer Pool Prep: Beyond the Opening
- Dive into a Season of Sparkling Enjoyment
Pool Opening is the unofficial start to summer for many homeowners, signaling warmer days, backyard barbecues, and refreshing dips. While the thought of a pristine, shimmering pool ready for cannonballs is exciting, the process of bringing it back to life after months of slumber can seem daunting. Fear not, with a structured approach and the right knowledge, your pool opening can be an effortless and even enjoyable part of your annual summer pool prep routine.
Why Prioritize a Smooth Pool Opening?
A well-executed pool opening isn’t just about getting water into the pool; it’s about setting the stage for a season of clear, healthy, and safe swimming. Rushing the process or skipping crucial steps can lead to frustrating issues down the line, such as cloudy water, algae blooms, equipment malfunctions, and costly repairs. By dedicating time and attention upfront, you’ll ensure your pool is ready to welcome swimmers without a hitch, allowing you to maximize your enjoyment and minimize headaches throughout the hottest months. Think of it as an investment in carefree summer fun.
Your Step-by-Step Guide to a Flawless Pool Opening
Preparing your pool for summer involves several key stages, each vital to the success of the overall operation. Follow these steps for an efficient and effective revival.
Step 1: Gather Your Supplies and Tools
Before you even touch your winter cover, ensure you have all the necessary supplies on hand. This includes a pool brush, skimmer net, telescoping pole, pool vacuum (manual or robotic), filter cleaning solution, a reliable water testing kit, essential chemicals (shock, pH increaser/decreaser, alkalinity increaser, calcium hardness increaser/reducer, algaecide), and possibly O-rings and lubricants for equipment. Having everything ready will prevent mid-task interruptions.
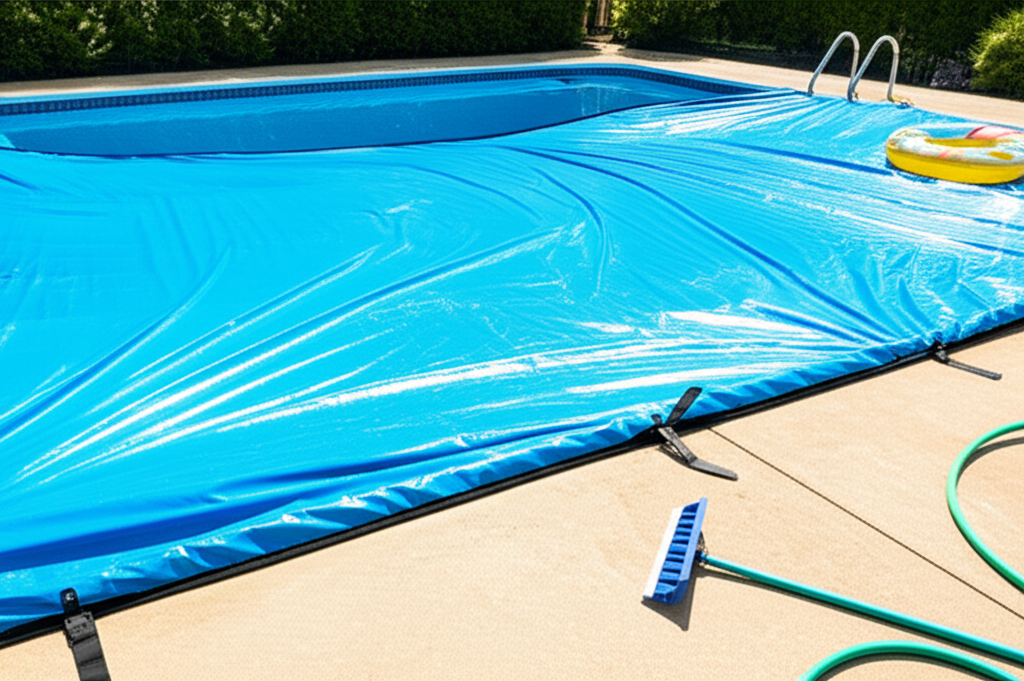
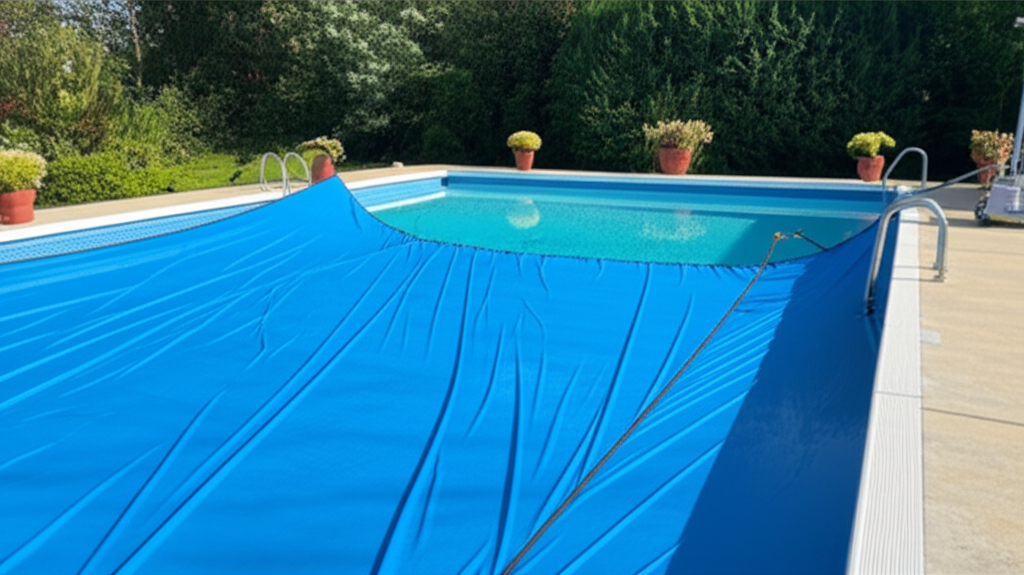
Step 2: Remove the Winter Cover and Initial Debris
Carefully pump off any standing water and remove debris from the top of your winter cover. This prevents contaminants from entering your pool when the cover is removed. Once clean, gently remove the cover with help, if needed, and lay it out to clean thoroughly with a mild detergent and water. Allow it to dry completely before folding and storing it to prevent mildew and damage.
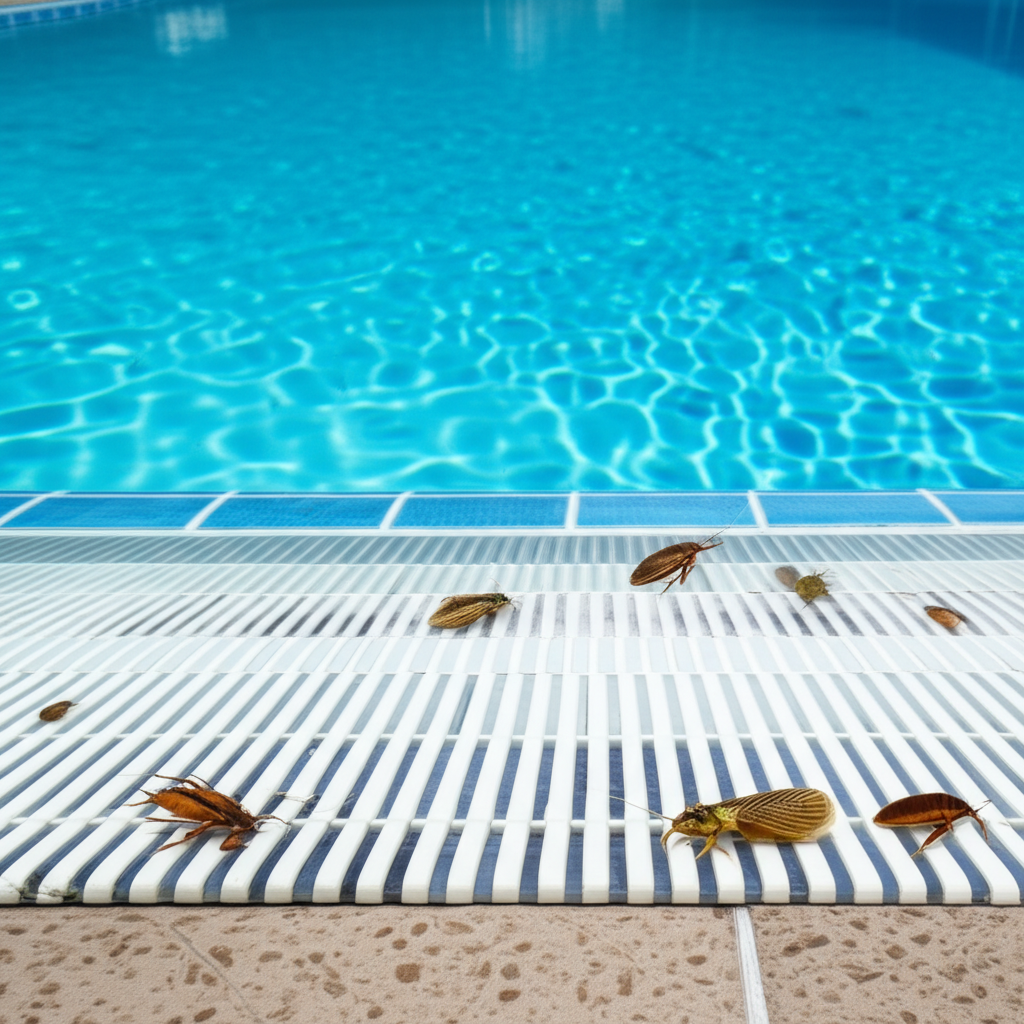
Step 3: Clear Debris and Inspect the Pool
With the cover off, you’ll likely find an accumulation of leaves, twigs, and other organic matter at the bottom of your pool. Use a leaf net on a telescoping pole to manually scoop out the larger debris. A thorough brushing of the pool walls and floor will dislodge any clinging dirt or algae. While cleaning, take the opportunity to visually inspect your pool liner or surface for any cracks, tears, or damage that might require attention before filling.
Step 4: Reconnect Equipment and Fill the Pool
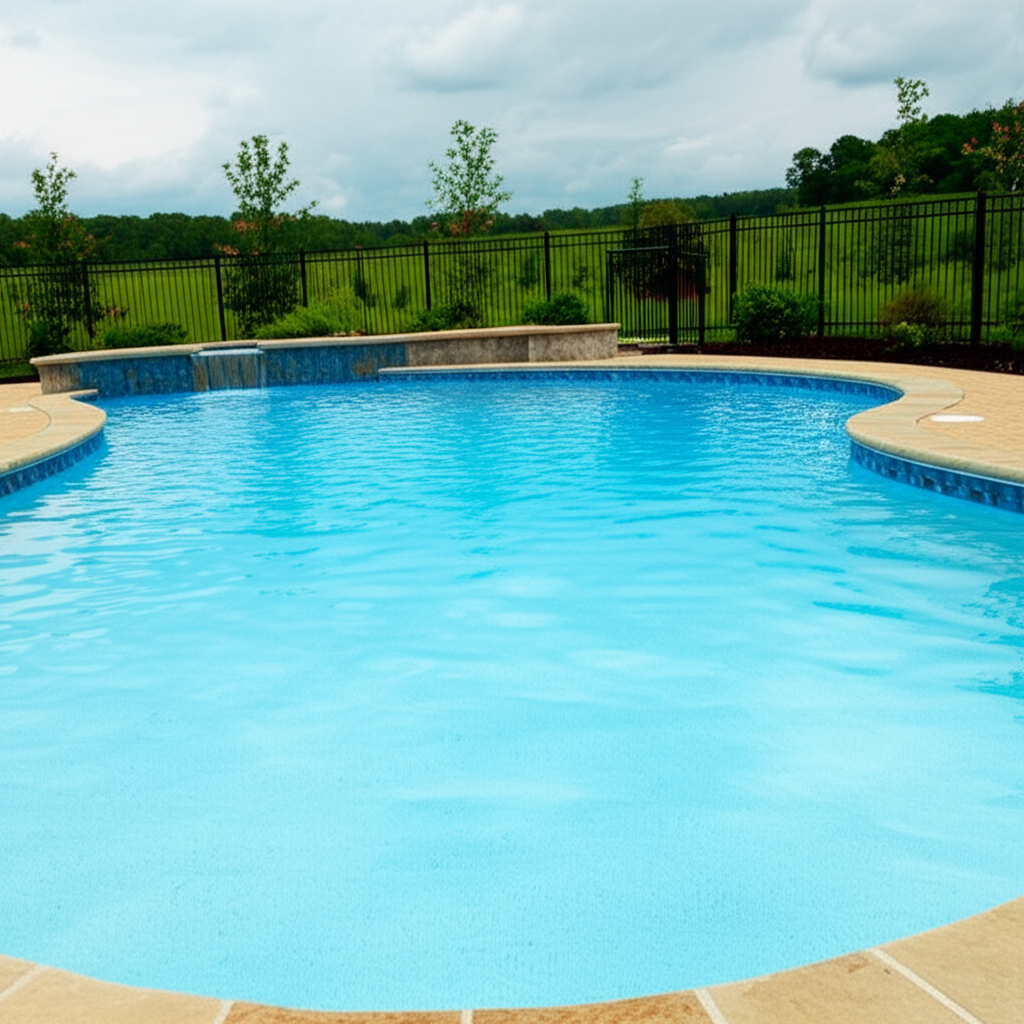
Now is the time to reconnect all your pool equipment, including the pump, filter, heater (if applicable), skimmer baskets, and return jets. Ensure all plugs are in, valves are open, and drain plugs are in place. Lubricate O-rings where necessary to ensure a watertight seal. Once everything is connected, begin filling your pool to its mid-skimmer level. This usually takes several hours, so plan accordingly. While the pool is filling, you can prime your pump by pouring water directly into the pump basket before starting it up to prevent dry running.
Step 5: Master Your Pool Chemistry for the Season
This is perhaps the most critical step for pristine water. Once your pool is filled and the pump is running, take a water sample and test for pH, alkalinity, and calcium hardness.
pH (7.4-7.6 ideal): Ensures swimmer comfort and chemical effectiveness. Adjust with pH increaser (soda ash) or decreaser (muriatic acid or dry acid).
Total Alkalinity (80-120 ppm ideal): Acts as a buffer for pH, preventing wild fluctuations. Adjust with alkalinity increaser (sodium bicarbonate).
* Calcium Hardness (200-400 ppm ideal): Prevents corrosion or scaling. Adjust with calcium hardness increaser (calcium chloride).
After balancing these foundational levels, it’s time to shock your pool with a granular or liquid chlorine shock treatment. Follow product instructions carefully, typically adding it at dusk and allowing the pump to run overnight to distribute it thoroughly. This will kill off any lingering algae or bacteria that formed over the winter. Don’t forget to add an initial dose of algaecide as a preventative measure.
Step 6: Run, Monitor, and Fine-Tune Your System
After shocking, allow the water to circulate for 24-48 hours. Continue to test your water daily and make small adjustments until all chemical levels are within the ideal ranges. Watch for any leaks in your equipment, listen for unusual noises from your pump, and ensure your filter is working correctly – you may need to backwash or clean filter cartridges multiple times during the initial startup process. Vacuum the pool again if needed to pick up any remaining debris or settled particles.
Effortless Summer Pool Prep: Beyond the Opening
While the initial pool opening is a significant undertaking, maintaining your pool throughout the summer doesn’t have to be. Implement a regular weekly maintenance schedule that includes testing water, skimming, brushing, vacuuming, and cleaning skimmer baskets. Investing in a robotic pool cleaner can significantly reduce manual effort. Consider a pool cover for nightly use to minimize debris and chemical evaporation. If the thought of DIY pool care is still overwhelming, don’t hesitate to consult with local pool professionals who can assist with opening services or ongoing maintenance.
Dive into a Season of Sparkling Enjoyment
By following this comprehensive guide, your pool opening will be a smooth, manageable process. You’ll not only save time and effort but also ensure your backyard oasis is safe, clean, and inviting from the first sunny day to the last. So, gather your gear, roll up your sleeves, and prepare to dive into a summer filled with endless aquatic fun, all thanks to your thoughtful summer pool prep.