- Why Proper Pool Opening is Crucial
- The Essential Steps for a Smooth Pool Opening
- 1. Clean and Remove the Winter Cover
- 2. Initial Debris Removal and Water Level Check
- 3. Reinstalling Pool Equipment and Components
- 4. Priming the Pump and Starting Circulation
- 5. Water Testing and Chemical Balance
- 6. Final Cleaning and Inspection
- Tips for Making Summer Pool Prep Truly Easy
- Dive Into Summer!
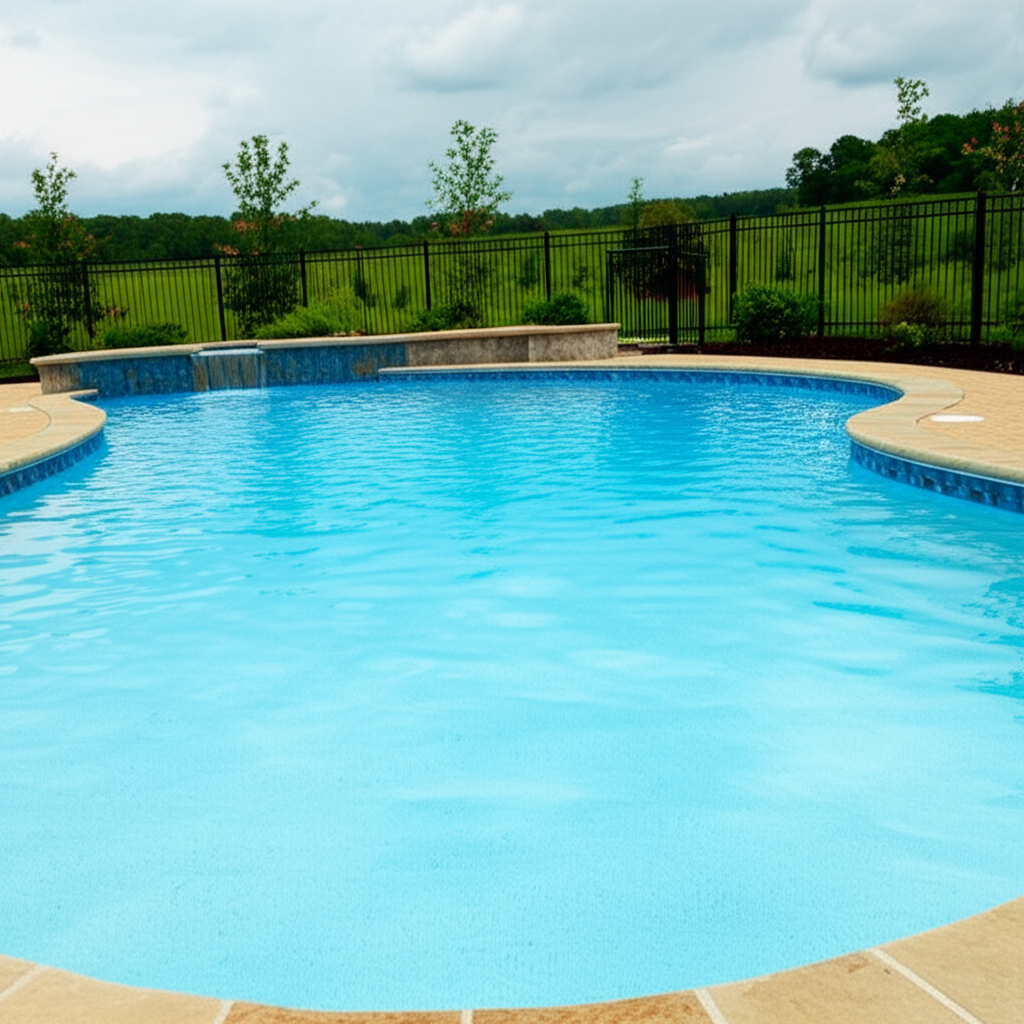
Pool Opening: The official start to backyard fun, sun-drenched days, and refreshing dips. After months of being covered and dormant, bringing your swimming pool back to life for the summer season can feel like a daunting task. However, with a systematic approach and a little planning, this annual ritual can be surprisingly straightforward and ultimately pave the way for an entire season of effortless enjoyment. This guide will walk you through the ultimate tips for easy summer prep, ensuring your pool is sparkling clean and inviting from day one.
Why Proper Pool Opening is Crucial
Beyond simply getting some water in the pool, a thorough and correct pool opening sets the foundation for healthy water, efficient equipment operation, and long-term cost savings. Skipping vital steps can lead to persistent algae, cloudy water, equipment damage, or even a shorter lifespan for your pool’s components. Investing a little time and effort now means less headache and expense later, leaving you more time to simply relax and enjoy your aquatic oasis.
The Essential Steps for a Smooth Pool Opening
Let’s break down the process into manageable, easy-to-follow stages to ensure your pool is ready for prime time.
1. Clean and Remove the Winter Cover
The first order of business is dealing with the winter cover. Whether it’s a solid, mesh, or safety cover, it likely accumulated debris, leaves, and possibly standing water during the off-season. Carefully clean off any debris from the top before removal to prevent it from falling into the pool. Pump off any standing water. Once clean, meticulously fold or roll the cover and store it in a dry, safe place away from rodents and harsh elements. Cleaning and drying the cover thoroughly will extend its life.
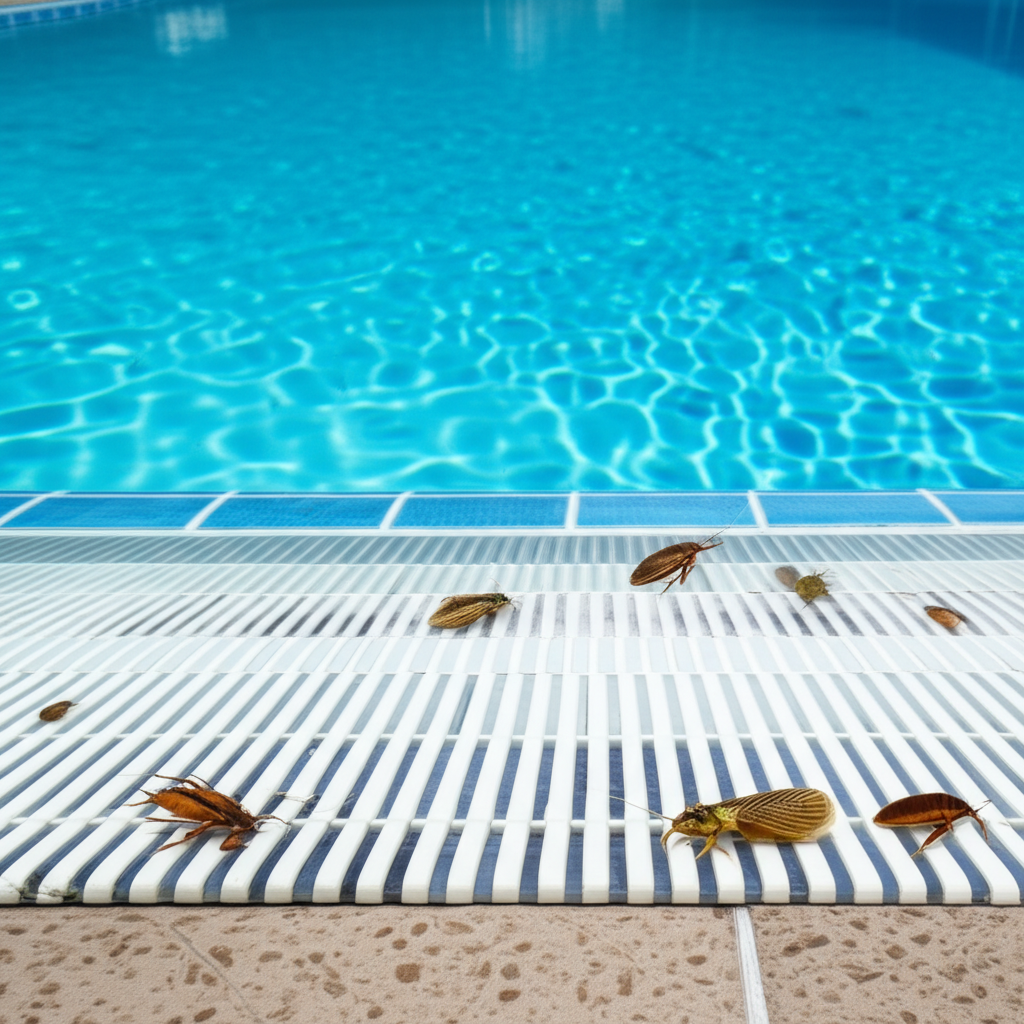
2. Initial Debris Removal and Water Level Check
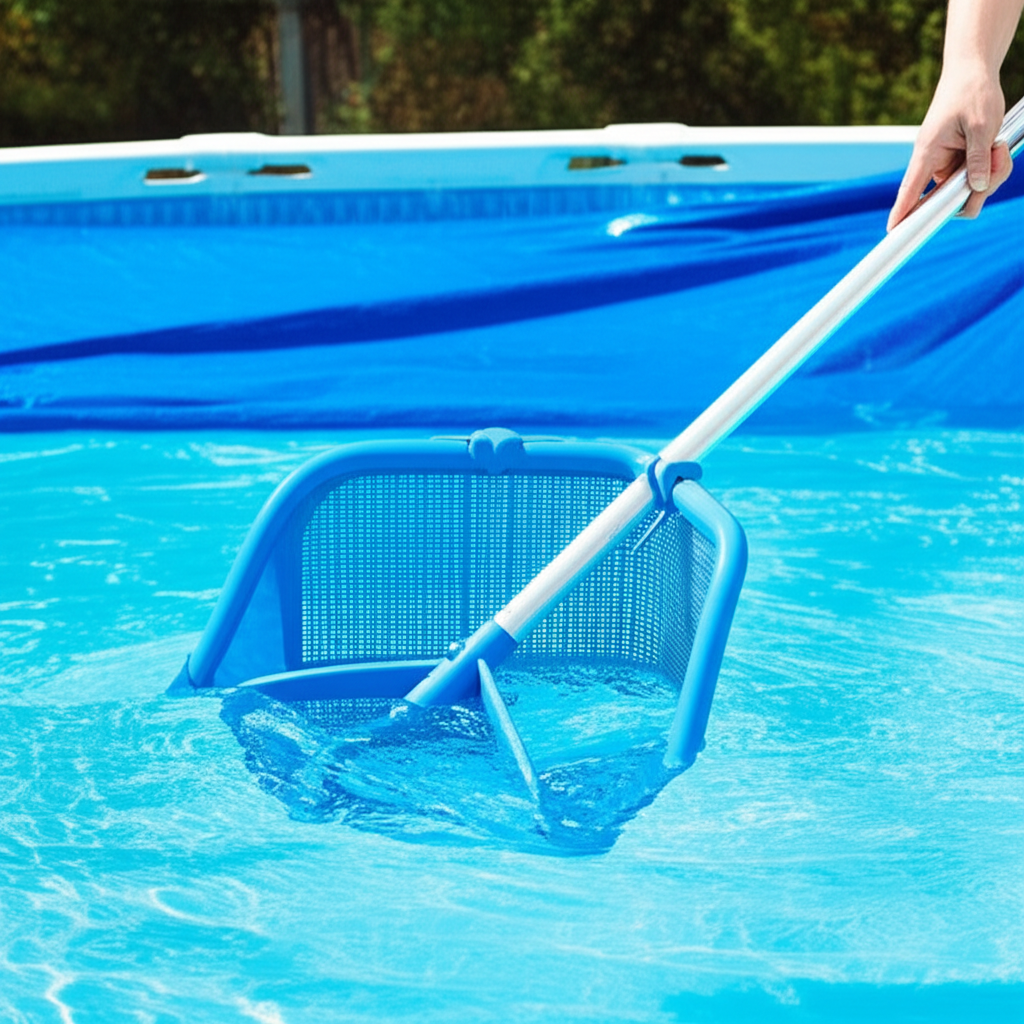
With the cover off, you’ll likely find some debris at the bottom of the pool. Use a leaf rake or skimmer net to remove large leaves, branches, or any critters that found their way in. Once the largest debris is gone, assess your pool’s water level. It might have dropped over the winter. If necessary, begin filling the pool with fresh water until it reaches the middle of your skimmer opening – the ideal operating level.
3. Reinstalling Pool Equipment and Components
Now it’s time to reattach all the equipment you stored away for winter. This includes:
Drain Plugs and Baskets: Reinsert all drain plugs into your pump, filter, heater, and any other equipment. Put skimmer and pump baskets back in place.
Return Jets and Skimmer Baskets: Reinstall the eyeball fittings in your return jets.
Ladders and Handrails: Securely attach your ladders and handrails.
Filter System: If you drained your filter, refill it according to your manufacturer’s instructions. Ensure all connections are tight.
Heaters and Automated Systems: Reconnect any gas lines or power for heaters or automated cleaning systems, checking for secure connections.
4. Priming the Pump and Starting Circulation
Once all equipment is reinstalled and the water level is correct, it’s time to get the circulation system running.
Prime the Pump: Fill the pump basket with water to help it prime.
Open Valves: Ensure all appropriate valves are open for water flow from the skimmer and main drain to the pump and then back to the pool returns.
Turn on the Pump: Start your pump and check for leaks. Allow the system to run continuously for at least 24-48 hours to circulate the water and remove fine particles. Backwash or clean your filter as needed during this initial circulation period.
5. Water Testing and Chemical Balance
This is perhaps the most critical step for pristine water. Take a sample of your pool water to a reputable pool store for a comprehensive test, or use a reliable home test kit. You’ll need to adjust levels for:
pH (7.4-7.6): Crucial for sanitizer efficiency and swimmer comfort.
Alkalinity (80-120 ppm): Buffers pH, preventing drastic swings.
Calcium Hardness (180-220 ppm): Prevents plaster etching or scale formation.
Chlorine/Sanitizer: Begin adding your chosen sanitizer (chlorine, bromine, etc.) to reach appropriate levels. Start with a shock treatment to kill any lingering algae or bacteria.
Adjust chemicals slowly, re-testing frequently until all levels are within the ideal ranges. Patience here is key to achieving crystal-clear, safe water. This process can take a few days.
6. Final Cleaning and Inspection
Once the water is balanced and looking good, do a final vacuuming of the pool floor. Brush the walls and floor to dislodge any remaining clinging particles. Check all safety equipment, such as life rings, ropes, and Shepherd’s hooks. Ensure gate latches and pool alarms are working correctly.
Tips for Making Summer Pool Prep Truly Easy
Start Early: Don’t wait until the last minute. Begin your summer pool prep a few weeks before you plan to swim. This allows time for any unexpected issues, like cloudy water or equipment malfunctions, to be resolved.
Gather Supplies: Before you start, ensure you have all necessary chemicals (shock, pH adjusters, alkalinity increaser, etc.), cleaning tools, and replacement parts on hand.
Read Your Manuals: When in doubt about specific equipment, consult your manufacturer’s manuals.
Don’t Overlook Small Repairs: Address any minor cracks, leaks, or frayed spots now to prevent them from becoming larger, more costly problems later.
Consider Professional Help: If you’re new to pool ownership, short on time, or simply prefer to delegate, hiring a professional pool service for the opening can be a wise investment. They’ll ensure everything is done correctly and efficiently.
Routine Maintenance is Key: Once open, consistent, weekly maintenance will keep your pool pristine and your summer fun uninterrupted.
Dive Into Summer!
The ritual of pool opening signals the long-awaited arrival of summer. While it requires some effort, following these steps will transform “work” into a gratifying preparation for months of enjoyment. With a little planning and diligent execution, your pool will be sparkling, perfectly balanced, and ready to be the centerpiece of your ultimate summer relaxation and entertainment. Get ready to make a splash!