- Why Pool Winterization Is Non-Negotiable
- Timing is Everything: When to Start Your Pool Closing
- Essential Preparations Before You Begin
- Your Step-by-Step Pool Closing Guide
- A Few More Winterization Tips
Pool Closing is an essential annual ritual for any pool owner living in a region that experiences freezing temperatures. Far from a daunting chore, this process of winterizing your pool is a protective measure that safeguards your investment, prevents costly damage, and ensures a pristine opening come spring. With a structured approach and the right knowledge, you can achieve an effortless winterization that stands guard against the harsh winter months.
Why Pool Winterization Is Non-Negotiable
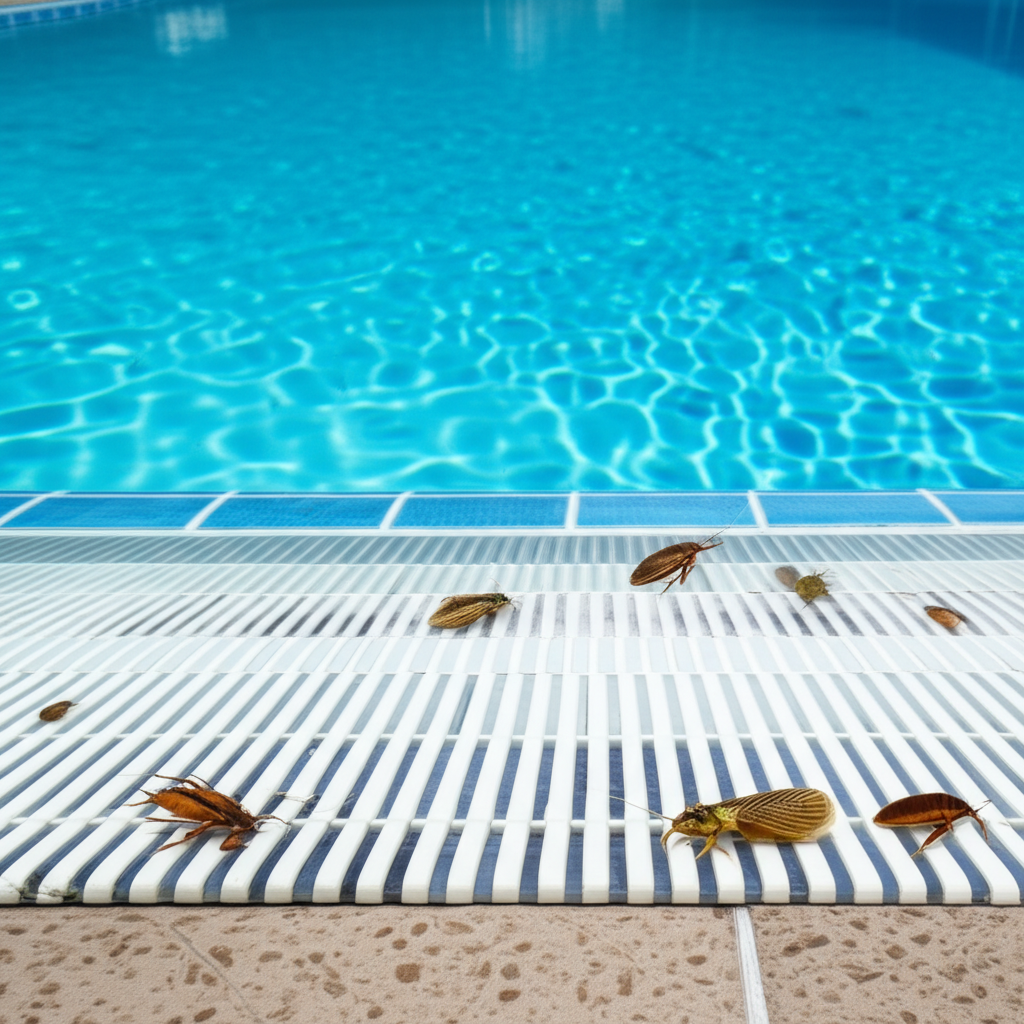
Ignoring the need to properly winterize your pool is akin to leaving your house exposed to a blizzard. The consequences can be severe and expensive. Water left in pipes, pumps, and filters can freeze and expand, cracking components and causing irreparable damage. Algae and bacteria can proliferate in stagnant, untreated water, leaving you with a green, murky mess that requires extensive cleaning and chemical treatment in the spring. Proper pool closing protects your plumbing, filtration system, surfaces, and water quality, saving you time, money, and headaches down the line. It’s an investment in the longevity and health of your entire pool system.
Timing is Everything: When to Start Your Pool Closing
The ideal time to begin winterizing a pool is when daily temperatures consistently drop below 65°F (18°C). If you close too early while temperatures are still warm, your winterizing chemicals might not last, and algae could still bloom. Waiting until temperatures are already freezing is also risky, as water in your equipment could freeze before you have a chance to drain it. Pay attention to local weather forecasts and aim for that sweet spot where cold weather is imminent but not yet upon you. Also, consider the trees around your pool; try to get the bulk of the leaves out before closing to avoid them sinking and staining the pool bottom.
Essential Preparations Before You Begin
Before you even think about putting on the pool cover, some crucial preliminary steps are necessary to ensure a truly effortless pool closing.
1. Thorough Cleaning: Skim all debris from the surface, vacuum the pool thoroughly, and brush the walls and floor. A clean pool going into winter means less work in the spring.
2. Water Chemistry Balancing: This is perhaps the most critical step. Test your pool water and adjust the pH (7.4-7.6), alkalinity (80-120 ppm), and calcium hardness (180-220 ppm) to their ideal ranges. Shock the pool strongly a few days before closing to kill off any remaining bacteria and algae. Allow the chlorine level to drop to 1-3 ppm before adding other winterizing chemicals.
3. Lowering the Water Level: For pools with a winter cover, lower the water level below the skimmer mouth and all return jets. This prevents water from entering the skimmer and plumbing lines, where it could freeze. For safety covers, you generally don’t need to lower the water as much, often just below the skimmer, as the cover rides on the water. Always consult your pool cover manufacturer’s guidelines.
Your Step-by-Step Pool Closing Guide
Once your pool is clean, balanced, and the water level is adjusted, you’re ready to tackle the main winterization tasks.
1. Add Winterizing Chemicals:
With your water balanced and chlorine levels low, add a winterizing algaecide to prevent green growth, a stain preventative to protect your pool surfaces, and a winter oxidizer or shock designed for long-term effectiveness. Follow the manufacturer’s dosages carefully.
2. Drain and Clean Equipment:
Filter: For sand filters, backwash thoroughly, then set the valve to “winterize” or “drain” and remove the drain plug. For DE filters, backwash, remove the grids, clean them, and store them. For cartridge filters, remove the cartridges, clean them thoroughly, and store them indoors.
Pump & Heater: Disconnect drain plugs from the pump and heater. Allow all water to drain out. Store pump baskets, drain plugs, and other small accessories in a safe, labeled container. If your heater has a bypass valve, ensure it’s open.
Chlorinator/Feeder: Drain any water and remove all chlorine tablets. Clean the dispenser thoroughly.
3. Blow Out Lines and Plug Them:
This is crucial to prevent freeze damage. Use a powerful shop-vac or air compressor to blow air through each plumbing line (skimmer, return jets, main drain, etc.) until no water is visible entering the pool. Once a line is clear, immediately install a threaded winterizing plug into the return jets and skimmer suction lines. For the main drain, if possible, blow air through it and then install a “gizzmo” or expansion plug in the skimmer to block it off.
4. Remove All Accessories:
Take out ladders, diving boards, skimmer baskets, solar covers, and any other pool accessories. Clean them thoroughly and store them in a dry, protected area.
5. Add Antifreeze (Optional but Recommended):
Pour pool-specific non-toxic antifreeze into the skimmer and return lines after they’ve been blown out and plugged. This adds an extra layer of protection against any residual water freezing.
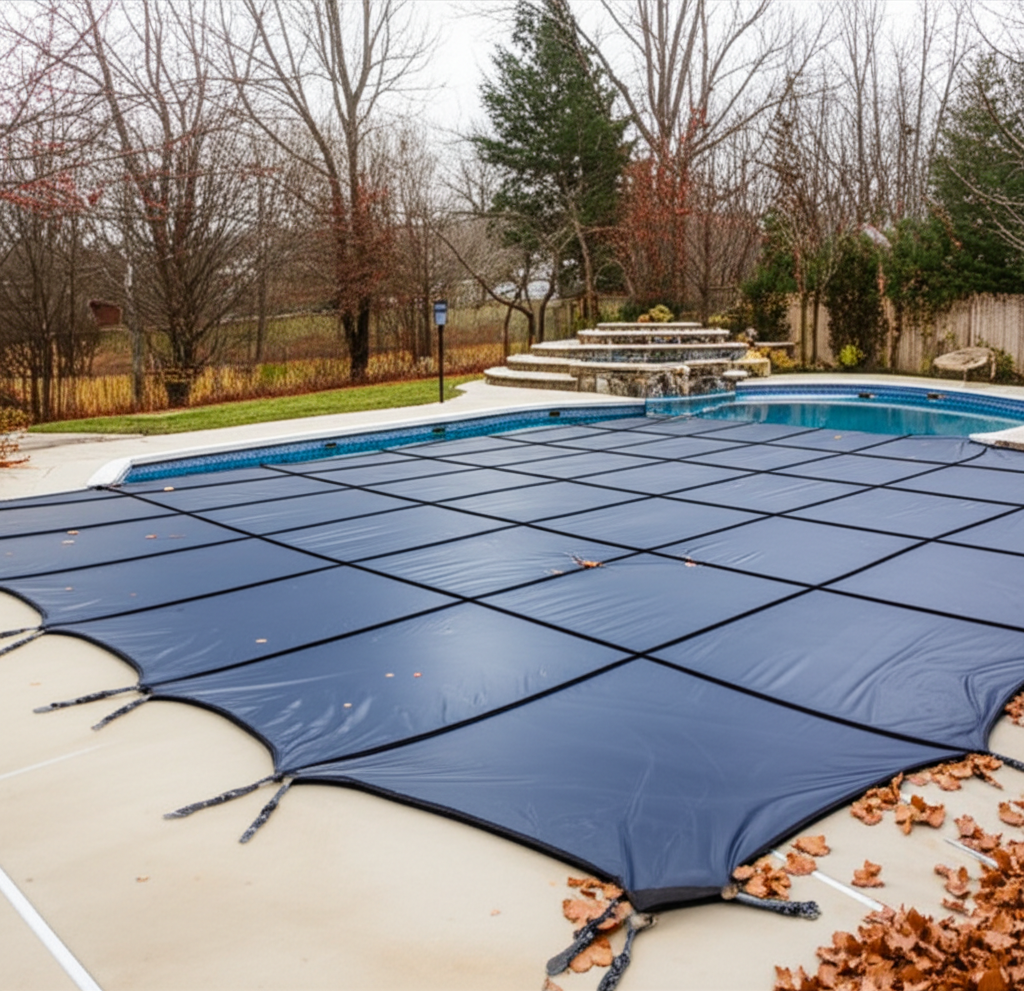
6. Cover Your Pool:
This final step is critical for a successful winterizing a pool.
Solid Winter Covers: Lay the cover over the pool and secure it tightly using water bags, anchor weights, or other securing mechanisms around the perimeter. Ensure there are no gaps where debris can enter.
Safety Covers: Pull the safety cover tightly across the pool and attach it to the anchors set in your deck. Adjust the tension for a snug fit. This type of cover offers superior protection against accidental falls for children and pets.
A Few More Winterization Tips
Store Chemicals Safely: Keep all pool chemicals in a cool, dry, well-ventilated area, away from children and pets.
Check Your Cover: Periodically during the winter, check your pool cover. Remove any significant accumulations of leaves, snow, or ice to prevent damage or sagging. Add water to water bags if they appear deflated.
Documentation: Make a note of any issues or repairs needed during the winterization process so you can address them in the spring.
By following this comprehensive and structured Pool Closing guide, you can confidently prepare your pool for the off-season. An effortless winterization effort now translates directly into a smoother, cleaner, and less complicated pool opening next spring, allowing you to enjoy your swimming oasis again with minimal fuss.