- Why Your Skimmer Weir is Crucial (and Prone to Failure)
- Assessing Your Skimmer Weir's Condition
- The Step-by-Step Weir Gate Replacement Process
- Choosing the Right Skimmer Weir Gate
- Maintaining Your New Skimmer Weir
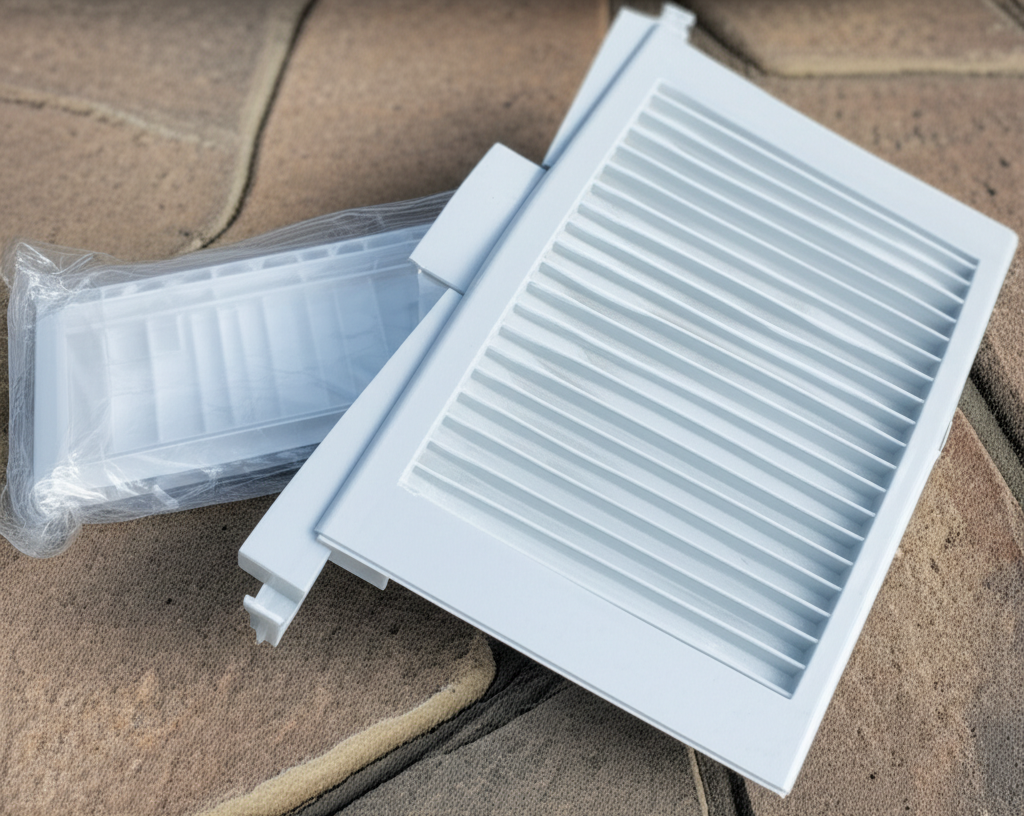
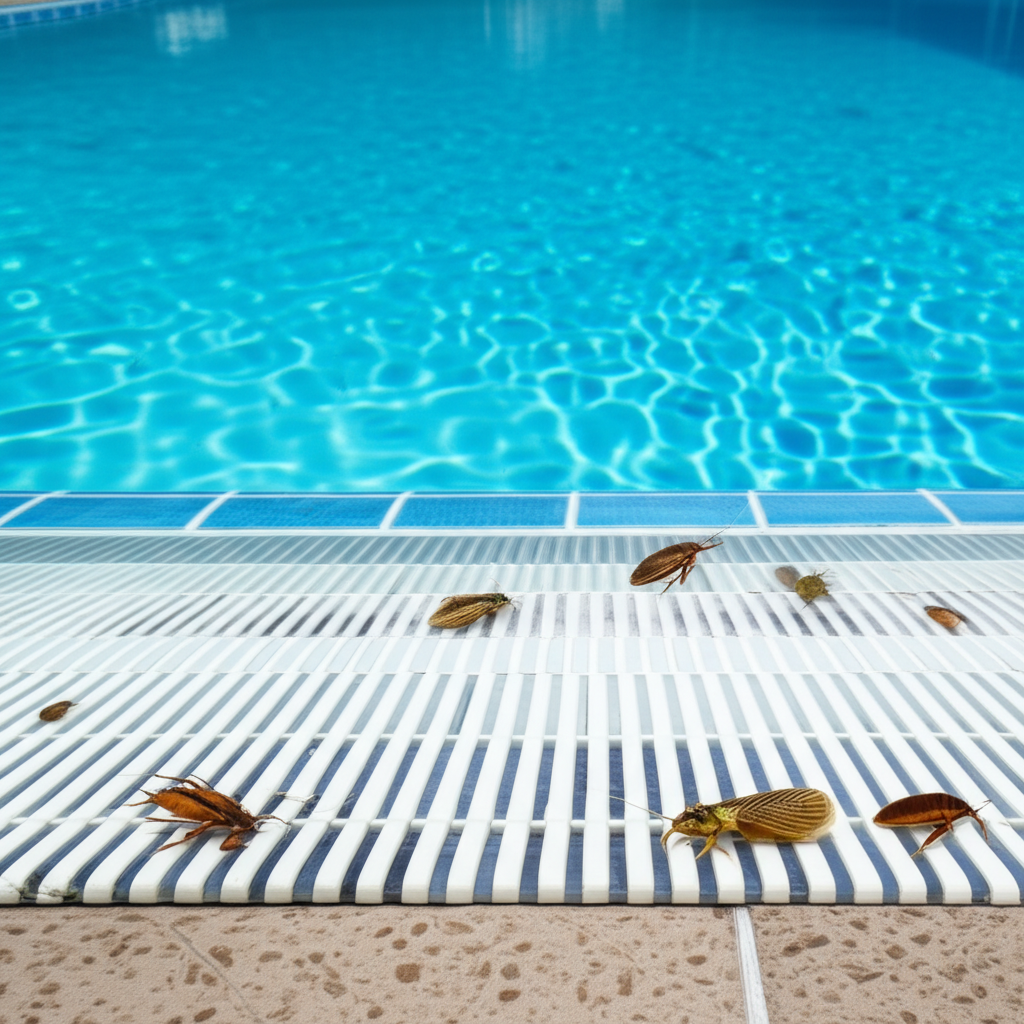
Skimmer weirs are unsung heroes of pool maintenance, playing a critical role in keeping your swimming oasis sparkling clean. This floating gate, typically found within the mouth of your pool’s skimmer, acts as a barrier, allowing surface water to flow into the skimmer basket while trapping larger debris like leaves, bugs, and pollen at the water’s surface. Without a properly functioning skimmer weir, your pool’s filtration system would struggle immensely, leading to dirtier water, increased chemical usage, and a less enjoyable swimming experience. Over time, however, these essential components can degrade, crack, or break, necessitating a replacement. This comprehensive guide will walk you through everything you need to know about maintaining and replacing this vital piece of pool equipment.
Why Your Skimmer Weir is Crucial (and Prone to Failure)
The primary function of a skimmer weir is surprisingly clever. As your pool pump pulls water into the skimmer, the weir gate bobs up and down with the water level, creating a small, concentrated opening. This “dam” effect increases the velocity of the water entering the skimmer, effectively “sweeping” surface debris into the skimmer basket before it can sink to the bottom of the pool. A well-functioning weir minimizes the amount of work your pool cleaner or vacuum has to do, and significantly reduces the load on your main filter.
Despite their simple design, skimmer weir gates endure a lot of stress. Constant exposure to harsh pool chemicals, relentless UV radiation from the sun, and physical wear and tear from debris can take a toll. Common reasons for a weir gate’s failure include:
UV Degradation: Sun exposure can make plastic brittle, leading to cracks and breaks.
Chemical Exposure: Chlorine and other pool chemicals can slowly erode the plastic.
Physical Damage: Large debris, curious children, or even pool tools can knock the weir gate out of place or break it.
Age: Like all pool components, they simply wear out over time.
Stuck or Loose Pins: Worn or lost pivot pins can cause the gate to become jammed or fall out entirely.
Signs that your weir gate might be failing include visible cracking or chipping, the gate remaining stuck open or closed, the gate completely detaching from the skimmer, or a noticeable decrease in the skimmer’s ability to clear surface debris.
Assessing Your Skimmer Weir’s Condition
Before you embark on a weir gate replacement, it’s wise to properly assess its current state. A quick visual inspection can tell you a lot. Look for:
Physical Damage: Are there any cracks, chips, or missing pieces?
Movement: Does the gate swing freely? If it’s a spring-loaded type, does it return to its vertical position?
Attachment: Is it securely fastened to the skimmer opening? Are the pivot pins intact?
Efficacy: Observe your skimmer while the pump is running. Is it effectively sweeping debris into the basket, or does debris float past the skimmer mouth?
In most cases, any significant damage or a complete failure to pivot freely warrants a replacement. While some minor fixes might seem appealing, a compromised weir gate often indicates a weakened structure that will soon fail entirely. Investing in a new gate ensures optimal performance and peace of mind.
The Step-by-Step Weir Gate Replacement Process
Replacing a skimmer weir is a straightforward task that most pool owners can tackle themselves. Here’s how:
1. Safety First: Turn Off the Pump! Before reaching into your skimmer, always turn off your pool pump at the breaker. This prevents accidental suction and ensures your safety.
2. Remove the Old Weir Gate:
Spring-Loaded Gates: These often have spring-loaded pins that retract. Gently push one side of the gate inwards, then angle it down and pull it out.
Fixed Pin Gates: These usually slide out or have pins that can be wiggled free. Sometimes, the entire skimmer faceplate needs to be removed (though this is less common just for weir replacement).
Broken Gates: You might just need to remove the broken pieces. If the pins are stuck, try using a pair of pliers to gently wiggle them free.
3. Clean the Skimmer Opening: With the old gate removed, take this opportunity to clean any algae, debris, or mineral buildup from the inside of the skimmer mouth where the weir gate pivots. A stiff brush can be helpful.
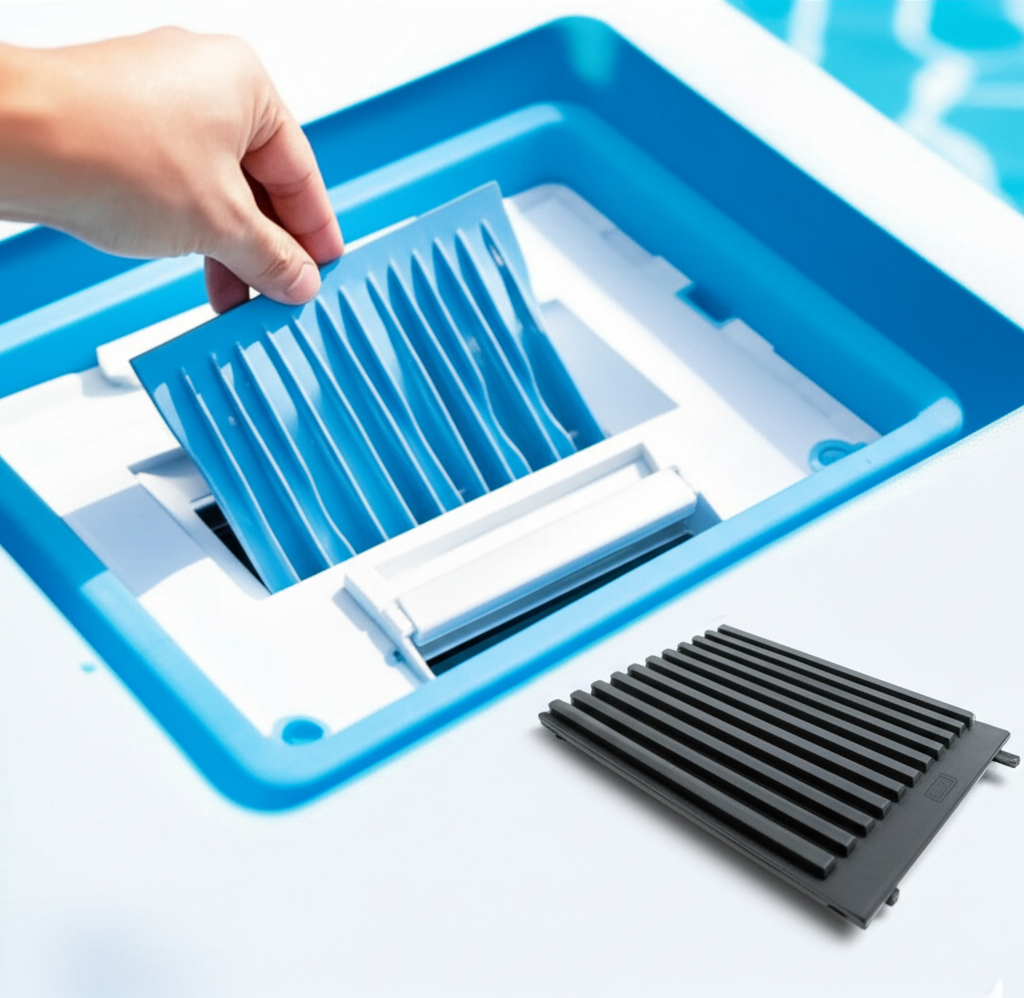
4. Install the New Weir Gate:
Measure First: Ensure your new weir gate is the correct size. Most common residential skimmer mouths are standard, but always double-check dimensions (width, and pin-to-pin distance if applicable).
Positioning: Place one pivot pin into its corresponding hole on the skimmer wall.
Secure: For spring-loaded gates, compress the spring on the other side and slide the second pin into its hole. For fixed-pin gates, simply align the pins and slide the gate into position. Ensure it sits securely and can swing freely.
5. Test the New Gate: Turn your pool pump back on. Observe the new weir gate. It should float and swing freely with the water flow, creating the skimming action.
Choosing the Right Skimmer Weir Gate
Selecting the correct replacement part is crucial for a snug fit and proper function.
Material: Most weir gates are made from durable ABS plastic, known for its resistance to chemicals and UV light. Ensure you purchase a high-quality replacement to ensure longevity.
Size: Measure the width of your skimmer’s opening. Most manufacturers provide dimensions for their weir gates. You can also look for the make and model of your skimmer (often printed inside) and find a direct replacement part. Common sizes for residential pools include 8″ and 8.5″ wide.
Type of Attachment:
Spring-loaded: Most common, easy to install and remove.
Fixed Pins: Less common, relies on rigid pins that slide into place.
Snap-in/Slide-in: Some designs simply snap into grooves or slide down tracks.
Compatibility: While generic weir gates fit many skimmers, opting for a brand-specific replacement for your skimmer manufacturer (e.g., Hayward, Pentair, Sta-Rite) often guarantees the best fit.
Maintaining Your New Skimmer Weir
Once your new weir gate is installed, a little ongoing care can significantly extend its lifespan:
Regular Cleaning: Periodically clean the skimmer mouth to prevent buildup that could impede the weir’s movement.
Check for Obstructions: Ensure no large debris gets caught in the weir gate, potentially jamming or breaking it.
Proper Water Level: Maintain the water level of your pool within the recommended range (typically midway up the skimmer opening). If the water level is too high, the weir gate can get submerged and lose its effectiveness. Too low, and the pump could struggle to pull water efficiently.
Gentle Handling: Advise children not to play with the weir gate.
A functional skimmer weir is an indispensable asset for a clean, efficient, and healthy swimming pool. By understanding its role, recognizing signs of wear, and following this simple replacement guide, you can ensure your pool’s filtration system performs at its peak. This small investment in time and a new part will pay dividends in a sparkling clear pool that’s a pleasure to swim in all season long.