- The Critical Role of Your Pool Filter
- Understanding Your Pool Filter Type
- Effortless Guide to Sand Filter Cleaning
- When to Backwash Your Sand Filter
- Step-by-Step Sand Filter Backwashing:
- Effortless Guide to Cartridge Filter Cleaning
- When to Clean Your Cartridge Filter
- Step-by-Step Cartridge Filter Cleaning:
- General Tips for Prolonging Filter Life
- Conclusion: The Payoff of Consistent Pool Filter Cleaning
Pool Filter Cleaning is a fundamental, yet often overlooked, aspect of maintaining a sparkling clean and healthy swimming environment. Your pool filter is the heart of your circulation system, working tirelessly to remove impurities, debris, and microscopic particles from the water. Regular and proper filter cleaning not only ensures crystal-clear water but also extends the life of your pump and filter system, saving you money and hassle in the long run. Many pool owners dread this task, but with the right knowledge and techniques, it can be an effortless part of your routine.
The Critical Role of Your Pool Filter
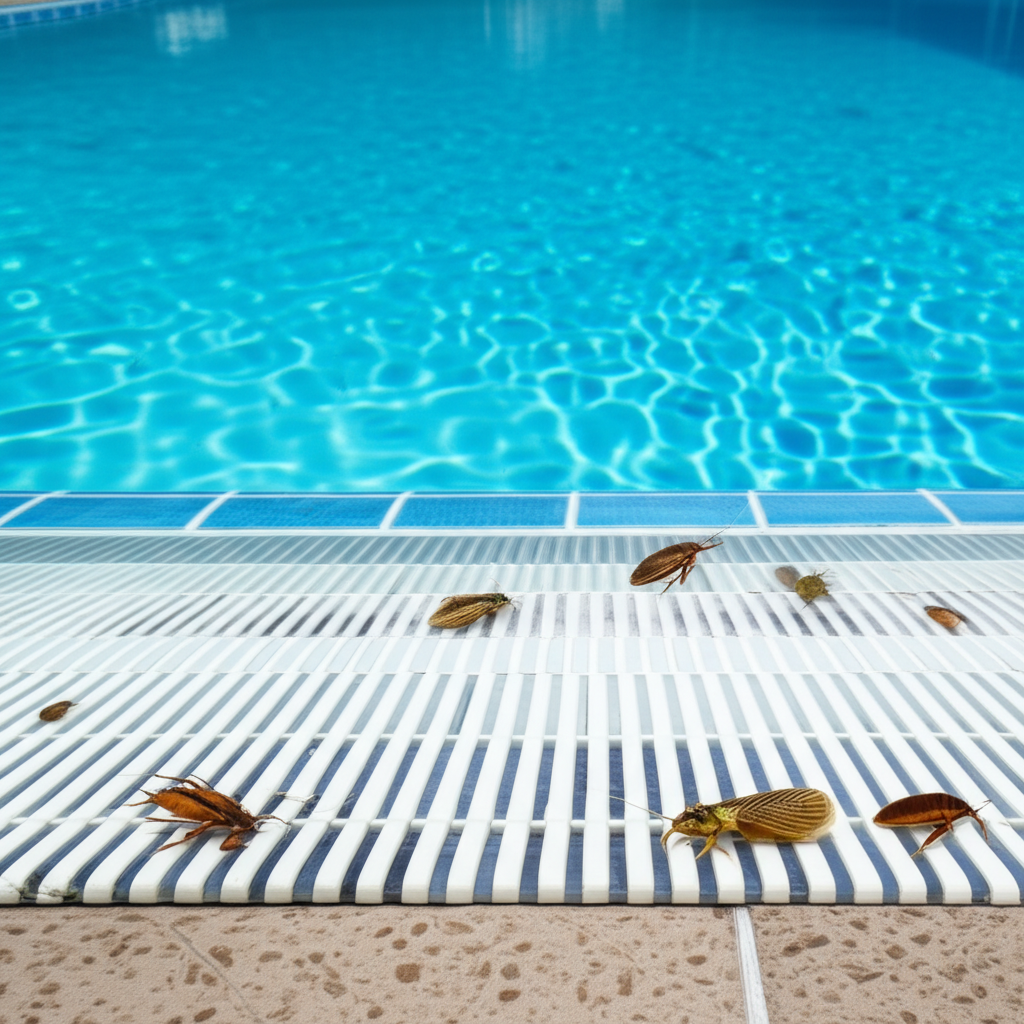
Before diving into cleaning methods, it’s essential to understand why your filter is so vital. All the water in your pool passes through this system, trapping contaminants ranging from leaves and insects to suntan lotion residue, algae spores, and even microscopic bacteria. A dirty or clogged filter cannot effectively perform its job, leading to cloudy water, increased chemical consumption, and unnecessary strain on your pump, which translates to higher energy bills. Recognizing when and how to clean your specific filter type is key to maintaining a pristine pool.
Understanding Your Pool Filter Type
There are primarily two types of filters prevalent in residential pools: sand filters and cartridge filters. Each operates on a different principle and, consequently, requires a distinct cleaning approach. Knowing which type you have is the first step toward effective maintenance.
Effortless Guide to Sand Filter Cleaning
Sand filters are renowned for their simplicity and durability. They work by forcing pool water through a bed of specialized filter sand. As water passes through the sand, tiny sharp edges of the sand grains trap debris. Over time, these trapped particles accumulate, reducing the sand’s efficiency and increasing pressure within the filter tank. This increased pressure signals it’s time for a cleaning process called backwashing.
When to Backwash Your Sand Filter
The primary indicator for backwashing is your pressure gauge. Note your filter’s clean operating pressure. When the pressure gauge reads 8-10 PSI above this baseline, it’s generally time to backwash. Another sign is noticeably reduced water flow from return jets or cloudy water, even after chemical treatment. As a general rule, backwashing every 1-2 weeks during the swimming season is a good practice, depending on usage and debris levels.
Step-by-Step Sand Filter Backwashing:
1. Turn Off the Pump: Always turn off your pool pump before changing the filter valve position. Moving the valve handle while the pump is running can damage the spider gasket inside the valve.
2. Set Valve to “Backwash”: Locate the multi-port valve on top or side of your sand filter. Push down the handle (if it’s a push-pull valve) or rotate it to the “Backwash” position.
3. Open Waste Line: Ensure your backwash hose is unrolled and directed to an appropriate drainage area, or that your waste line is open.
4. Turn On the Pump: Start the pump. You’ll likely see murky water exiting the waste pipe initially.
5. Watch the Sight Glass: Many sand filters have a clear sight glass on the multi-port valve. Watch for the water in this glass to clear up. This indicates that the dirty water has been flushed out of the sand bed. This typically takes 2-3 minutes, but continue until the water runs clear.
6. Turn Off the Pump: Once the water is clear, turn off the pump again.
7. Set Valve to “Rinse”: Move the valve to the “Rinse” position (this helps settle the sand bed and flushes any remaining dirty water out of the waste line).
8. Turn On the Pump: Run the pump for about 30-60 seconds, or until the sight glass shows clear water again.
9. Turn Off the Pump: Turn the pump off one last time.
10. Set Valve to “Filter”: Move the valve back to the “Filter” position.
11. Turn On the Pump: Restart the pump to resume normal filtration. Check your pressure gauge; it should have returned close to its clean operating pressure.
For maximum longevity, your sand filter media generally needs to be replaced every 3-5 years, depending on usage and local water conditions.
Effortless Guide to Cartridge Filter Cleaning
Cartridge filters are known for their excellent filtration capabilities, often trapping finer particles than sand filters. They consist of one or more cylindrical filter cartridges made of pleated fabric. Water passes through the pleats, and debris gets trapped on the surface of the fabric. Unlike sand filters, cartridge filters cannot be backwashed. Instead, they require physical removal and cleaning of the cartridge.
When to Clean Your Cartridge Filter
Similar to sand filters, your pressure gauge is the primary indicator. When the pressure reads 8-10 PSI above its clean operating pressure, or if you notice reduced water flow or cloudiness, it’s time for a cleaning. Most cartridge filters need cleaning every 4-6 weeks, or more frequently with heavy usage or after events like storms.
Step-by-Step Cartridge Filter Cleaning:
1. Turn Off the Pump: Always ensure the pump is off and depressurized before opening the filter housing. Release any air pressure by opening the air relief valve on top of the filter.
2. Open the Filter Housing: Unclamp or unscrew the lid of the filter housing.
3. Remove the Cartridge(s): Carefully lift out the dirty filter cartridge(s). They can be heavy when full of water and debris.
4. Hose Down the Cartridge: Using a strong-stream garden hose nozzle (never a pressure washer, as it can damage the pleats), thoroughly spray down between each pleat. Work from top to bottom, rotating the cartridge, ensuring you flush out all trapped debris. Pay extra attention to the end caps and innermost pleats.
5. Consider Chemical Cleaning (Periodically): Every 3-6 months, or if the cartridge looks particularly greasy, use a specialized filter cleaner or degreaser. Soak the cartridge overnight in a solution of water and filter cleaner (follow product instructions). This helps remove oils, minerals, and other stubborn residues that hosing alone can’t eliminate, restoring the filter’s efficiency. Rinse thoroughly after soaking.
6. Inspect for Damage: While cleaning, inspect the cartridge for tears, holes, or frayed pleats. Damaged cartridges cannot filter effectively and should be replaced.
7. Reinstall the Cartridge(s): Carefully place the clean cartridge(s) back into the filter housing. Ensure they are seated correctly.
8. Secure the Filter Housing: Replace the lid, ensuring the O-ring is properly seated and lubricated, then clamp or screw it securely.
9. Prime the Pump and Restart: Open the air relief valve on top of the filter (if equipped) and turn on the pump. Once a steady stream of water comes out of the air relief valve, close it. Check your pressure gauge; it should be back to its clean operating pressure.
Cartridge filters typically last 1-3 years before needing full replacement, depending on quality, maintenance, and pool chemistry.
General Tips for Prolonging Filter Life
Regular Skimming and Vacuuming: The less debris that reaches your filter, the less frequently it needs cleaning.
Maintain Proper Water Chemistry: Balanced pH and alkalinity help prevent scale buildup and other issues that can prematurely clog filters.
Don’t Over-Clean: While crucial, excessive cleaning of sand filters (backwashing too often) can cause the sand bed to wear down faster. Similarly, harsh cleaning methods can shorten the life of a cartridge. Follow the pressure gauge.
Winterization: If you close your pool for winter, ensure your filter is thoroughly cleaned and properly stored or prepared according to manufacturer guidelines.
Conclusion: The Payoff of Consistent Pool Filter Cleaning
Consistent and correct pool filter cleaning is not just a chore; it’s an investment in the health and enjoyment of your swimming pool. By understanding your filter type and following these straightforward steps, you can ensure your pool water remains sparkling clear, your equipment runs efficiently, and you spend more time swimming and less time dealing with maintenance headaches. Make filter cleaning a regular, effortless part of your pool care routine, and enjoy the pristine results.