- What is a Suction Line and Why is it Critical?
- Recognizing the Symptoms of an Air Leak
- Why Do Air Leaks Occur in Suction Lines?
- Diagnosing an Air Leak in Suction Line: A Step-by-Step Guide
- Ultimate, Easy Fixes for an Air Leak in Suction Line
- Prevention is Key
- When to Call a Professional
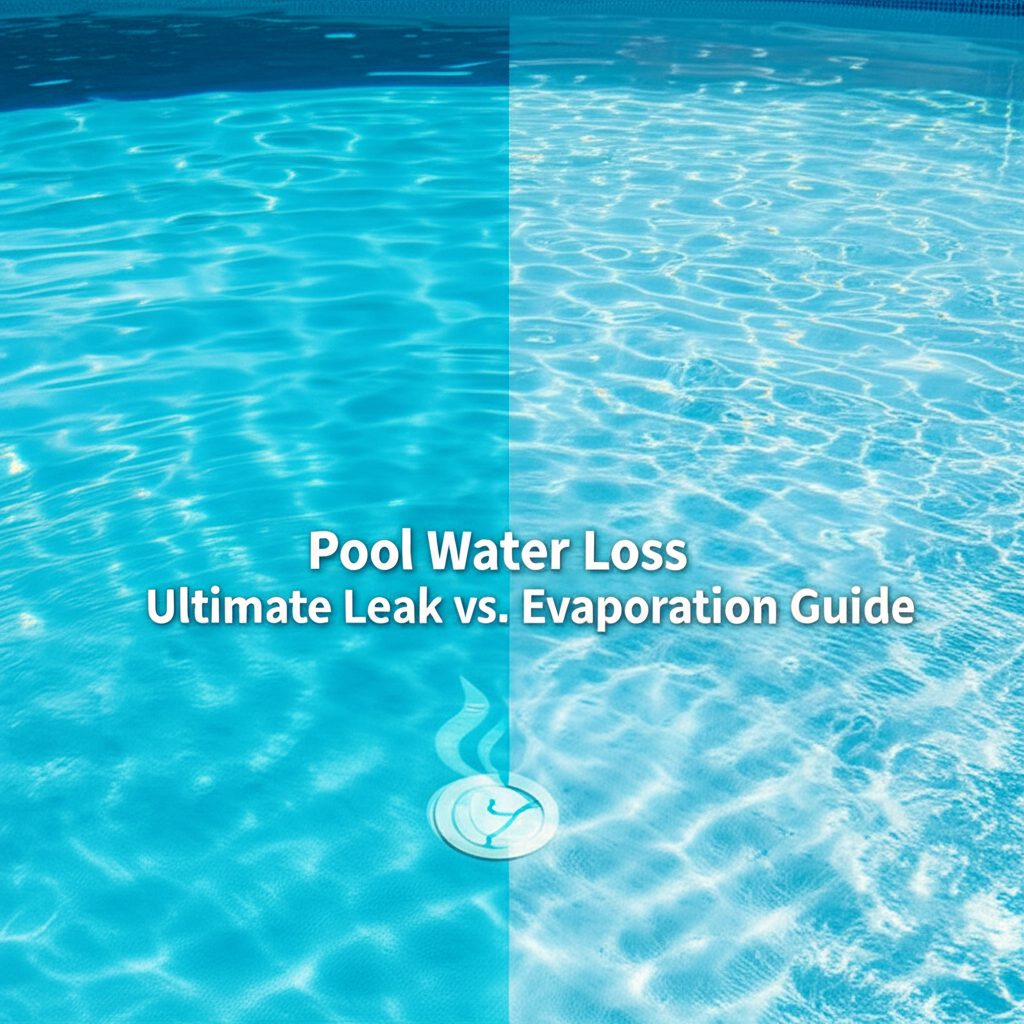
An Air Leak in Suction Line can be a deceptively simple problem with significant consequences for various systems, from HVAC and refrigeration units to swimming pool filtration pumps and industrial fluid transport. Often manifesting as a mysterious loss of efficiency or unusual noises, these leaks allow unwanted air into a system designed to operate under negative pressure, leading to a cascade of performance issues and potential damage. Understanding how to identify and effectively resolve these leaks is crucial for maintaining system integrity and extending equipment lifespan. This article will guide you through the process of diagnosing and implementing ultimate, easy fixes for this common yet often overlooked issue.
What is a Suction Line and Why is it Critical?
A suction line is a pipe or hose responsible for drawing fluid (whether refrigerant, water, or another liquid) from one point to another, typically towards a pump or compressor. In this section of the system, the pressure is usually below atmospheric pressure – a vacuum or partial vacuum – which makes it particularly susceptible to air ingress. Even a minuscule hole or loose connection can pull air into the system, diluting the fluid, creating air pockets, and disrupting the intended flow. For systems like refrigerators or air conditioners, this means less efficient cooling; for pumps, it can lead to cavitation and decreased output; and for pool systems, it can compromise water filtration and circulation.
Recognizing the Symptoms of an Air Leak
Spotting the signs of an air leak early can save you significant repair costs and downtime. Keep an eye out for these common indicators:
Reduced Performance: HVAC systems may struggle to cool or heat effectively, pumps might move fluid slowly or inefficiently, and vacuum cleaners could lose suction power.
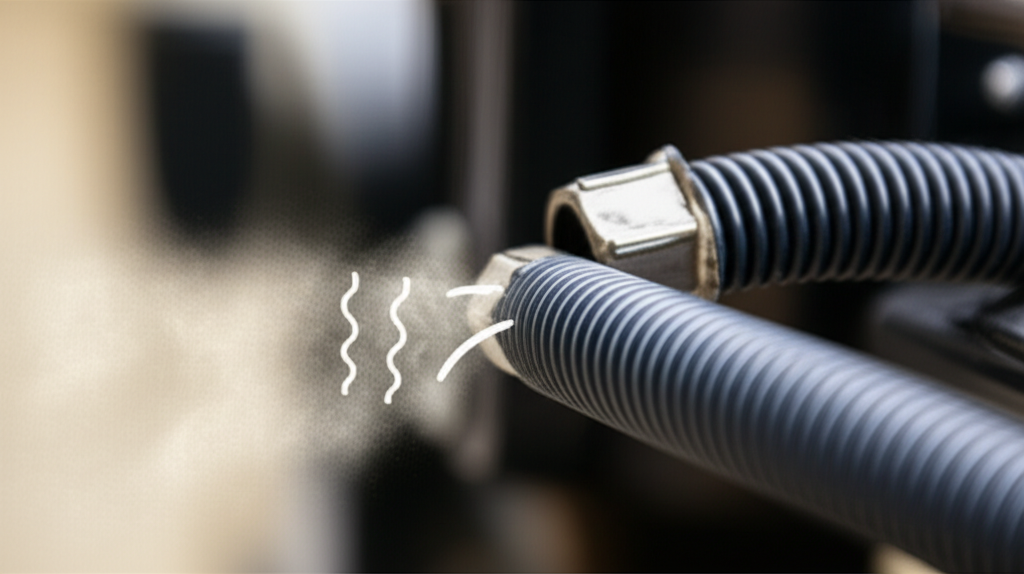
Unusual Noises: Gurgling, hissing, or bubbling sounds within the lines, pump, or compressor are strong indicators of air or gas mixing with the fluid.
Frequent Short Cycling: In systems with compressors, an air leak can cause the unit to turn on and off more frequently than normal, as it struggles to maintain the desired pressure or temperature.
Visible Bubbles: If the suction line or a connected component like a skimmer basket is visible, you might see a stream of tiny bubbles entering the system.
Low Pressure Readings: Pressure gauges on relevant systems might show unusually low or fluctuating readings on the suction side.
Freezing Coils (HVAC/Refrigeration): Air contamination in refrigerant lines can lower boiling points and cause evaporator coils to freeze up.
Motor Overheating: Pumps or compressors might work harder to compensate for reduced efficiency, leading to overheating.
Why Do Air Leaks Occur in Suction Lines?
Air leaks don’t just happen; they’re usually a result of wear, tear, or improper installation. Common culprits include:
Loose Connections: Over time, threaded fittings, unions, or clamped hoses can loosen due to vibration, thermal expansion/contraction, or improper initial tightening.
Worn Seals and Gaskets: O-rings, gaskets, and shaft seals (especially in pumps) can degrade, crack, or become brittle, losing their sealing integrity.
Cracked Pipes or Hoses: Physical impact, material fatigue, UV exposure, or freezing temperatures can cause cracks in PVC pipes, copper tubing, or flexible hoses.
Damaged Valves: Internal or external damage to valves in the suction line can allow air to seep in.
Improper Adhesion: In solvent-welded joints (like PVC), inadequate primer or cement application can lead to microscopic gaps.
Diagnosing an Air Leak in Suction Line: A Step-by-Step Guide
Pinpointing the exact location of an air leak requires a systematic approach. Patience here pays off immensely.
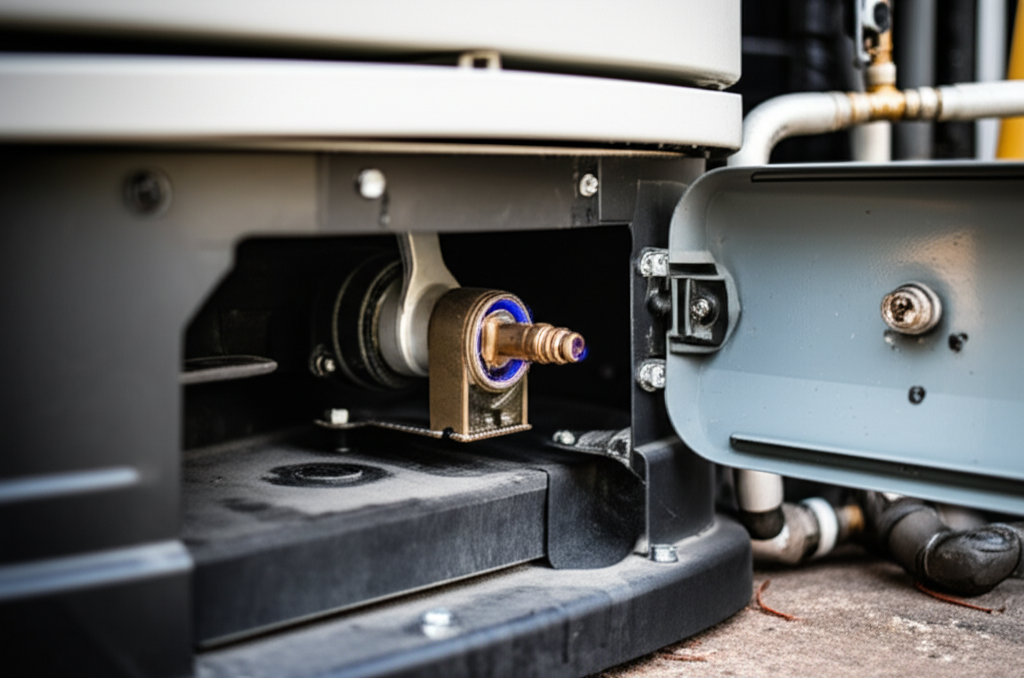
1. Visual Inspection: Start with a thorough visual check of all accessible suction line components. Look for obvious cracks, loose fittings, corrosion, damaged hoses, or worn seals. Pay close attention to pump unions, valve connections, and any points where different materials join.
2. The Soap Bubble Test: This is perhaps the most popular and effective DIY method. Mix a generous amount of dish soap with water to create a thick, bubbly solution. With the system running, liberally spray or brush this solution onto suspected leak points (fittings, joints, valve stems, etc.). If there’s an air leak, the vacuum will pull the soap solution in, creating visible bubbles where the leak is located.
3. Applying Shaving Cream/Thicker Substance: For very small leaks or hard-to-see areas, a thicker substance like shaving cream or foam leak detector spray can be more effective than soapy water, as it creates more pronounced bubbles.
4. Listen Carefully: While the system is running, carefully listen along the suction line. A distinct hissing sound often indicates incoming air. For pool systems, listen around skimmer weirs and pump baskets.
5. Submerging Components (If Possible): For smaller, removable components like certain hose sections or fittings, submerging them in a bucket of water while the system is under vacuum (or pressure, if adaptable) can reveal bubbles exiting the component.
6. Pressure Drop Test (Professional): For sealed systems, a professional might use a vacuum pump to pull a deep vacuum on the suction line and monitor the pressure gauge. A rising pressure indicates a leak.
Ultimate, Easy Fixes for an Air Leak in Suction Line
Once the leak is located, the fix can often be straightforward. Start with the simplest solutions before resorting to more extensive repairs.
1. Tighten Connections: Many leaks stem from simply loose fittings. Use appropriate wrenches or tools to carefully tighten all threaded connections, unions, clamps, and bolt on pump lids. Avoid overtightening, which can strip threads or crack plastic.
2. Replace O-Rings and Gaskets: If the leak is around a pump lid, filter housing, union, or valve, the O-ring or gasket is the likely culprit. Turn off and depressurize the system, then remove the old, degraded seal and replace it with a new, properly sized one. Apply a silicone-based lubricant suitable for the system to the new O-ring before installation to ensure a good seal and prevent pinching.
3. Apply Thread Sealant or Tape: For threaded PVC or metal fittings, applying PTFE (Teflon) tape or pipe dope (thread sealant) can create a robust seal. Ensure the threads are clean before application. Wrap tape clockwise (as you face the male thread) multiple times.
4. Repair Small Cracks:
Epoxy Putty: For small cracks in rigid plastic pipes (PVC), a two-part epoxy putty can provide a temporary or semi-permanent fix. Clean the area thoroughly, mix the putty, and press it firmly over the crack.
Repair Clamps: For a more robust repair on a larger crack or pinhole in rigid piping, a dedicated repair clamp (often rubber-lined with a metal band) can be installed around the damaged section.
Self-Fusing Silicone Tape: For flexible hoses or odd-shaped pipes, self-fusing silicone tape can create a watertight and airtight seal. Stretch and wrap it tightly around the leak point.
5. Replace Damaged Sections: If a crack is extensive, or if the pipe or hose is severely degraded, the most reliable solution is to cut out the damaged section and replace it with a new piece of the same material and diameter, using appropriate couplings and adhesives (for PVC) or clamps (for hoses).
6. Address Valve Issues: If a valve is leaking from its stem, sometimes tightening the packing nut can help. If the valve body itself is cracked or leaking internally, replacement is necessary.
7. Check Skimmer Weirs and Baskets (Pools): Ensure the skimmer weir is properly seated and the skimmer basket is undamaged. Air can be pulled in around these components if they are not functioning correctly or if the water level is too low.
Prevention is Key
Preventive measures can significantly reduce the likelihood of future air leaks:
Regular Inspections: Periodically check all connections and piping for signs of wear.
Proper Installation: Ensure all fittings are tightened correctly, not overtightened or undertightened, and that appropriate primers and cements are used for solvent welds.
Quality Components: Invest in durable, high-quality pipes, fittings, and seals that can withstand the system’s operating conditions.
* Maintain Water Levels (Pools): Keeping the water level at the midpoint of the skimmer opening prevents air intake.
When to Call a Professional
While many air leaks can be fixed by a handy homeowner, some situations warrant professional intervention. If the leak is in a difficult-to-access area, involves refrigerant lines (which require specialized tools and certification), or if you’ve tried the basic fixes without success, it’s best to consult a qualified technician. They have advanced diagnostic tools and expertise to handle complex repairs safely and efficiently.
Addressing an Air Leak in Suction Line promptly is essential for maintaining the efficiency and longevity of your equipment. By understanding the symptoms, systematically diagnosing the problem, and applying the correct fix, you can avoid costly energy waste and potential system damage, ensuring your systems run smoothly for years to come.