- What Are Phosphates and Why Are They a Pool Owner's Nemesis?
- The Hidden Threat of High Phosphates in Your Pool
- How to Identify and Test for Phosphates
- Understanding Phosphate Remover: Your Secret Weapon
- Effortless Phosphates Removal: A Step-by-Step Guide for a Stunning Pool
- Maintaining a Low-Phosphate Environment
- Enjoy the Benefits of a Phosphate-Free Pool
Phosphates are the unseen enemy lurking in countless swimming pools, sabotaging clarity and fueling frustrating algae blooms. While microscopic, their impact is anything but small, transforming crystal-clear water into a murky, green nightmare. Many pool owners battle persistent algae, constantly adding chemicals, only to find the problem returns with stubborn regularity. The secret weapon against this cycle of frustration often lies in understanding and addressing phosphates, paving the way for effortless removal and a truly stunning pool experience.
What Are Phosphates and Why Are They a Pool Owner’s Nemesis?
At their core, phosphates are naturally occurring compounds containing phosphorus. They are present in many organic and inorganic substances around us. While essential for life, in a swimming pool environment, phosphates are essentially gourmet food for algae. Even in the presence of adequate chlorine, if phosphate levels are high, algae will thrive, reproduce, and quickly overwhelm your pool’s defenses.
Sources of phosphates in your pool are surprisingly diverse and often unavoidable:
Environmental Runoff: Leaves, dirt, pollen, grass clippings, and other organic debris falling into the pool.
Fertilizers: If your pool is near a lawn or garden, rainwater can wash phosphate-rich fertilizers directly into the water.
Tap Water: Many municipal water sources contain varying levels of phosphates, especially if they use them for corrosion control.
Bathers: Suntan lotions, soaps, and even sweat can introduce small amounts.
Pool Chemicals: Some cheaper stain removers, scale inhibitors, and even certain algaecides can inadvertently add phosphates to your water.
When these phosphates enter your pool, they act as a super-nutrient, accelerating algae growth even under normal sanitation conditions. This leads to increased chlorine demand, cloudy water, and the constant battle to keep your pool clean and clear.
The Hidden Threat of High Phosphates in Your Pool
The most obvious sign of high phosphate levels is recurring algae. You might be constantly shocking your pool, maintaining perfect chlorine levels, and still struggling with green water or slime on surfaces. However, the threat of high phosphates extends beyond visible algae.
Even without a full-blown algae bloom, elevated phosphates contribute to:
Increased Chlorine Consumption: Your chlorine is constantly working overtime to suppress the algae that the phosphates are feeding. This means you go through more chlorine, more quickly, increasing your operational costs.
Cloudy Water: Microscopic algae growth, even before it turns green, can make your water appear hazy or dull, diminishing its allure.
Reduced Effectiveness of Other Chemicals: High phosphate levels can make it harder for other chemicals, like clarifiers or flocculants, to do their job effectively, as they are constantly fighting an uphill battle against the underlying cause of impurity.
Filter Strain: Your filter has to work harder to remove the increased organic load from algae and other debris that phosphates enable. This can lead to more frequent backwashing or cartridge cleaning, and potentially reduce the lifespan of your filter media.
Ultimately, high phosphates lead to more work, more chemical usage, and less enjoyment of your pool.
How to Identify and Test for Phosphates
Unlike pH or chlorine, phosphates aren’t something you can visually assess. You need a dedicated testing method.
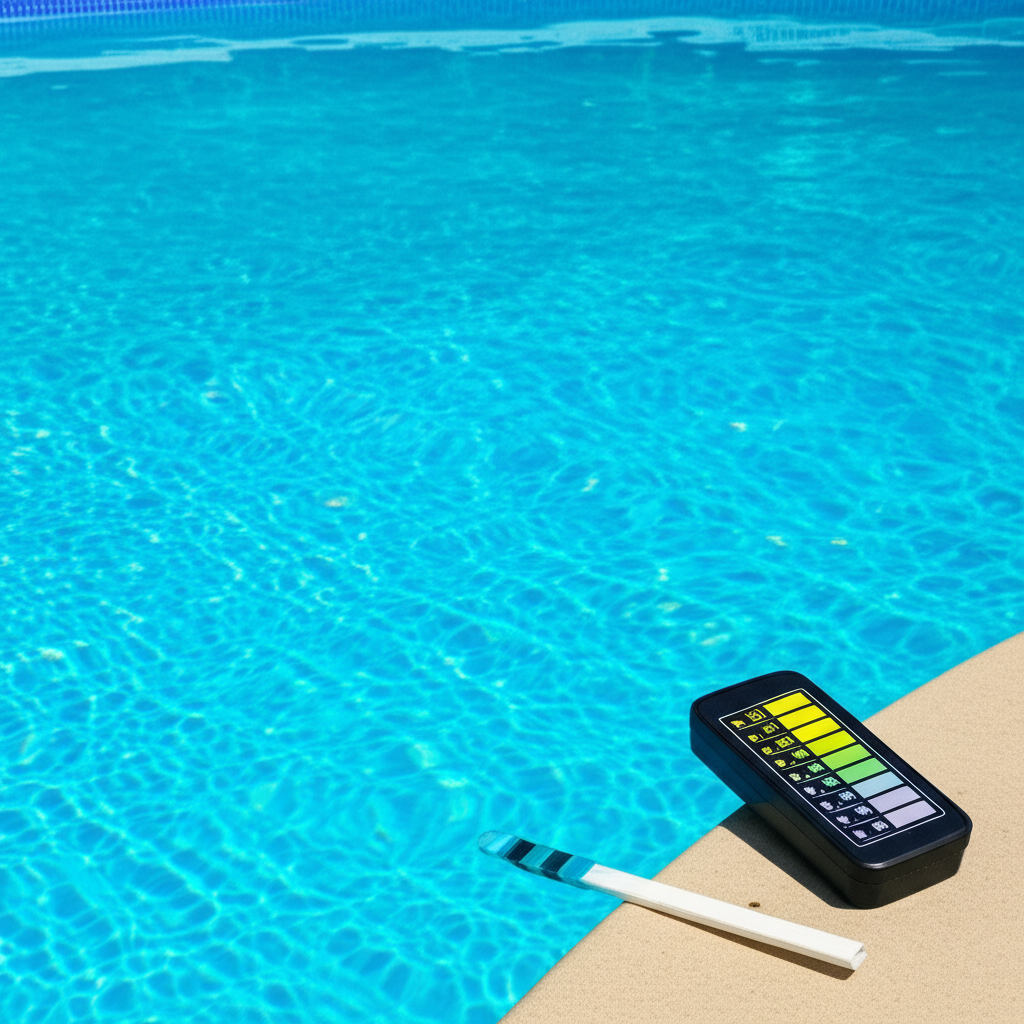
Phosphate Test Kits: These are typically liquid reagent kits or test strips specifically designed to measure phosphate levels in parts per billion (ppb) or parts per million (ppm). It’s crucial to use a good quality kit for accurate readings.
Professional Pool Stores: Many pool supply stores offer free or low-cost water testing services, often using more advanced equipment that can provide a precise phosphate reading.
Understanding your phosphate levels is the first step towards effective removal. Ideally, phosphate levels should be kept below 100 ppb (parts per billion) for optimal pool health and to significantly reduce the risk of algae. Levels above 200 ppb are considered problematic, and anything above 500 ppb is an open invitation for algae.
Understanding Phosphate Remover: Your Secret Weapon
The good news is that removing phosphates is a straightforward process, thanks to specialized products known as Phosphate Remover. Most effective phosphate removers utilize lanthanum chloride (or similar lanthanum compounds). Here’s how they work:
Binding Action: When introduced into the water, the lanthanum ions in the remover bind tightly to the phosphate ions. This chemical reaction forms a new, insoluble compound.
Precipitation: This new compound becomes heavy and falls out of suspension. It either settles to the bottom of the pool or is captured by your pool filter.
Physical Removal: Once precipitated, these phosphate solids can then be vacuumed to waste or filtered out of the pool water, effectively removing the algae’s food source.
Phosphate removers are generally safe for pool water and equipment when used as directed, offering a targeted solution without affecting other water chemistry parameters like pH or alkalinity.
Effortless Phosphates Removal: A Step-by-Step Guide for a Stunning Pool
Achieving a stunning, algae-free pool by tackling phosphates doesn’t require complex chemistry; it requires a systematic approach.
1. Test Your Water: Begin with an accurate test of your phosphate levels. This determines the severity of the problem and helps you calculate the correct dosage of phosphate remover.
2. Calculate and Apply Phosphate Remover: Carefully read the instructions on your chosen phosphate remover product. Dosage will vary depending on the concentration of phosphates in your pool and the product’s strength. Apply the remover evenly across the pool surface, ideally with your pump running to aid in distribution.
3. Ensure Proper Circulation and Filtration: After adding the remover, run your pool filter continuously for at least 24-48 hours. The precipitated phosphates need to be circulated through the filter to be trapped. Monitor your filter pressure and backwash or clean your filter frequently as the phosphate solids accumulate. You might see a temporary cloudiness as the product works – this is normal and indicates it’s doing its job.
4. Vacuum to Waste (If Applicable): If your filter pressure rises quickly or if you notice a significant amount of white or grey particulate settling at the bottom, vacuum this debris directly to waste (bypassing your filter, if possible) to remove the phosphates from the pool system entirely.
5. Re-test Phosphate Levels: After allowing sufficient time for the product to work and for filtration/vacuuming, re-test your phosphate levels. If they are still high, repeat the treatment process, potentially with a smaller dose.
This process transforms persistent, hard-to-manage algae into a rare occurrence, allowing your sanitizer to do its job effectively.
Maintaining a Low-Phosphate Environment
Once you’ve removed the initial phosphate overload, ongoing maintenance is key to keeping those levels low and your pool stunning.
Regular Cleaning: Skim debris, vacuum your pool regularly, and clean your filter.
Be Mindful of Runoff: Direct rainwater away from your pool if possible. Avoid fertilizing lawns directly adjacent to the pool.
Check Source Water: If your tap water has high phosphates, consider using a pre-filter when filling or topping off your pool.
Use Phosphate-Free Products: When purchasing pool chemicals like algaecides, stain removers, or winterizing kits, check labels to ensure they are phosphate-free.
Routine Testing: Incorporate phosphate testing into your regular water chemistry routine, much like you do with pH and chlorine. This allows you to catch rising levels early and apply a small maintenance dose of phosphate remover if needed.
Enjoy the Benefits of a Phosphate-Free Pool
The effort involved in controlling phosphates pales in comparison to the benefits reaped. A pool with consistently low phosphate levels is a joy to own and maintain.
Crystal Clear Water: Without their primary food source, algae cannot thrive, leaving your water sparkling and inviting.
Reduced Chemical Costs: Your sanitizer works more efficiently, meaning you’ll use less chlorine and fewer algaecides.
Less Maintenance: Fewer algae outbreaks mean less time spent scrubbing, shocking, and backwashing.
Optimal Pool Performance: Your filter and other equipment can operate more efficiently and last longer.
Uninterrupted Enjoyment: Spend more time swimming and relaxing, and less time battling water chemistry problems.
Embracing phosphate removal is a game-changer for any pool owner struggling with persistent algae or cloudy water. By understanding the role of phosphates, implementing an effective removal strategy, and maintaining low levels, you don’t just achieve a clear pool – you achieve an effortlessly stunning pool that truly enhances your outdoor living experience.


