- Why Regular Filter Maintenance is Non-Negotiable
- Smart & Easy Solutions for Filter Cleaning: The Cartridge Filter
- When and How Often to Clean Your Cartridge Filter
- Step-by-Step Cartridge Filter Cleaning Process:
- How to Keep Your Sand Filter Clean and Efficient
- Backwashing: The Key to Sand Filter Cleaning
- When to Backwash Your Sand Filter:
- Step-by-Step Backwashing Process:
- Deep Cleaning and Sand Replacement:
- General Tips for Optimal Filter Performance
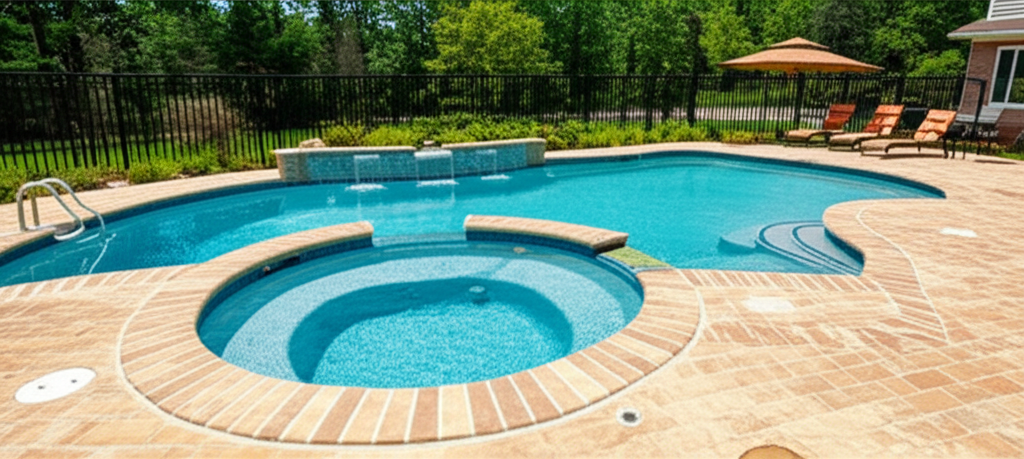
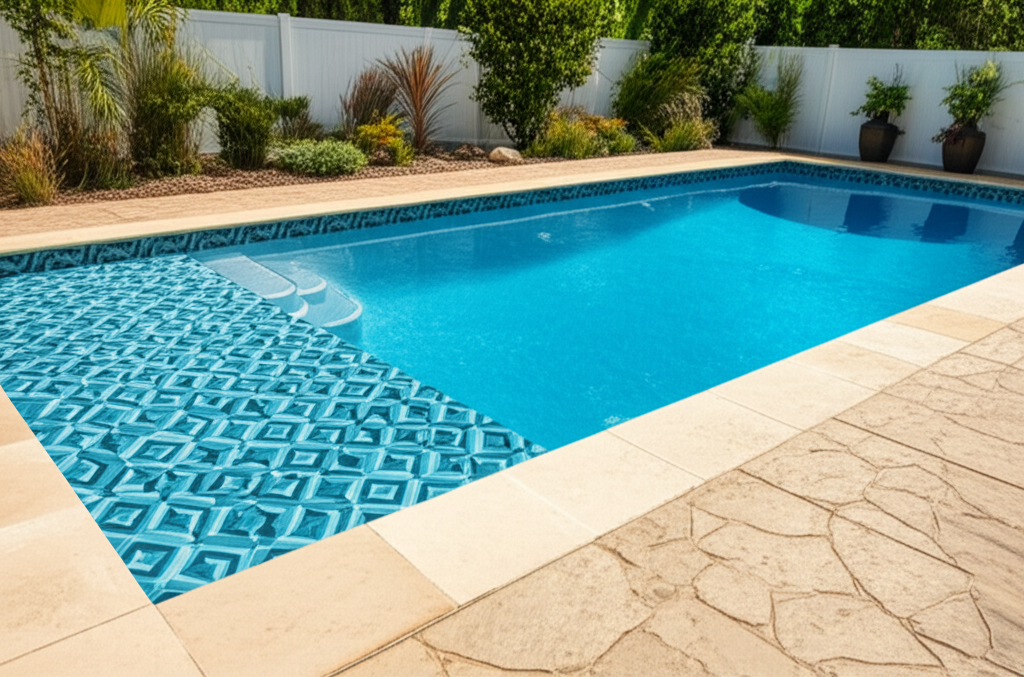
Filter Cleaning is arguably one of the most critical aspects of maintaining a sparkling clean and healthy swimming pool. Your pool filter is the unsung hero, constantly working to remove dirt, debris, algae, and microscopic particles from the water. Neglecting this essential piece of equipment can quickly lead to cloudy water, inefficient chemical usage, and even costly repairs. Fortunately, keeping your pool filter in top shape doesn’t have to be a daunting task. With a few smart strategies and easy solutions, you can ensure your filter continues to perform at its best, providing you with crystal-clear water all season long.
Why Regular Filter Maintenance is Non-Negotiable
A clean filter is the cornerstone of effective pool sanitation. When your filter is dirty or clogged, water flow is restricted, reducing its ability to trap contaminants. This leads to several problems:
Poor Water Quality: Cloudiness, visible particles, and an increased risk of algae bloom.
Inefficient Chemical Usage: Sanitizers like chlorine have to work harder to combat impurities, leading to higher chemical consumption.
Increased Energy Costs: The pump has to work harder to push water through a restricted filter, consuming more electricity.
Reduced Equipment Lifespan: Overworked pumps and clogged filters can suffer premature wear and tear.
Understanding your specific filter type is the first step toward implementing the right cleaning regimen. The two most common types are cartridge filters and sand filters, each requiring a distinct approach to maintenance.
Smart & Easy Solutions for Filter Cleaning: The Cartridge Filter
Cartridge filters are known for their excellent filtration capabilities, trapping very small particles. They consist of a cylindrical, pleated fabric material housed within your filter tank. Unlike sand filters, they are cleaned by physically rinsing or soaking the cartridge.
When and How Often to Clean Your Cartridge Filter
Generally, a cartridge filter should be cleaned every 4-6 weeks, or sooner if you notice a significant increase in your filter’s pressure gauge (typically 8-10 psi above its clean operating pressure) or a decrease in water flow. Heavy pool usage, a high bather load, or environmental factors like storms can necessitate more frequent cleaning.
Step-by-Step Cartridge Filter Cleaning Process:
1. Turn Off the Pump: Always ensure your pool pump is completely off before opening any filter components.
2. Vent Air: Open the air relief valve on top of your filter to release pressure.
3. Open the Filter: Remove the clamp or lid according to your filter model’s instructions.
4. Remove Cartridge(s): Carefully lift out the dirty cartridge element(s). They will likely be heavy with trapped debris.
5. Rinse Thoroughly: Using a garden hose with a strong nozzle, rinse each pleat from top to bottom. Pay close attention to getting deep into the pleats to dislodge trapped dirt, debris, and oils. Specialty filter cleaning wands can be very effective here.
6. Deep Clean (As Needed): For stubborn grease, oils, or calcification, soak the cartridge overnight in a dedicated filter cleaning solution. These solutions are designed to break down oils and mineral deposits without damaging the filter material. Always follow the product’s specific instructions.
7. Inspect: Before reinstalling, check the cartridge for any tears, frayed pleats, or damaged end caps. A damaged cartridge won’t filter effectively and should be replaced.
8. Reassemble: Place the clean cartridge(s) back into the tank, ensuring they are seated correctly. Replace the lid, close the air relief valve, and open any necessary valves.
9. Restart Pump and Check for Leaks: Turn the pump back on and open the air relief valve again until a steady stream of water emerges, then close it. Check for any leaks around the filter tank.
By following these steps, your cartridge filter will be restored to optimal performance, providing superior filtration.
How to Keep Your Sand Filter Clean and Efficient
Sand filters are popular due to their durability and simplicity. They work by passing pool water through a bed of specialized filter sand, which traps debris. Over time, the accumulated debris reduces the sand’s effectiveness.
Backwashing: The Key to Sand Filter Cleaning
Backwashing is the primary method for cleaning a sand filter. This process reverses the flow of water through the filter, flushing the trapped contaminants out to waste.
When to Backwash Your Sand Filter:
Similar to cartridge filters, the most reliable indicator for backwashing is your pressure gauge. When the gauge reads 8-10 psi higher than its normal clean operating pressure, it’s time to backwash. Alternatively, if you notice reduced water flow or cloudy water, backwashing is likely needed. For active pools, backwashing every 1-2 weeks is a common practice.
Step-by-Step Backwashing Process:
1. Turn Off the Pump: Always shut off your pool pump before changing the filter valve position.
2. Change Valve Position: Locate the multi-port valve on top or side of your filter and move the handle to the “Backwash” position.
3. Open Waste Line: Ensure your backwash hose is unrolled and directed to an appropriate waste area, or that your waste line is open.
4. Turn On the Pump: Start the pump. You’ll observe dirty water flowing through the waste line or sight glass (if your filter has one).
5. Watch the Water: Continue backwashing until the water in the sight glass runs clear, which usually takes 2-3 minutes.
6. Turn Off the Pump: Once the water is clear, turn off the pump again.
7. RINSE Cycle: Move the multi-port valve handle to the “Rinse” position.
8. Turn On the Pump: Run the pump for about 30-60 seconds to re-settle the sand. You might see some residual cloudiness, but it should clear quickly.
9. Turn Off the Pump: Shut off the pump.
10. Return to FILTER: Move the multi-port valve handle back to the “Filter” position.
11. Restart Pump: Turn your pump back on.
12. Check Pressure: Note the new, lower pressure gauge reading.
Deep Cleaning and Sand Replacement:
While backwashing handles routine cleaning, sand filters benefit from a “deep clean” every season using specific sand filter cleaner chemicals designed to break down oils, scale, and other deposits that accumulate in the sand bed. These are typically poured directly into the skimmer according to product instructions. The filter sand itself eventually loses its sharp edges and becomes less effective. Filter sand generally needs to be replaced every 5-7 years, depending on pool usage and water chemistry.
General Tips for Optimal Filter Performance
Regardless of your filter type, these universal practices will help keep your filtration system running smoothly:
Monitor Pressure Gauge: Regularly check your filter’s pressure gauge. It’s the most reliable indicator of when cleaning is needed.
Run Your Pump Adequately: Ensure your pump runs long enough each day to cycle all the pool water through the filter several times.
Empty Skimmer Baskets: Regularly empty skimmer and pump baskets to prevent larger debris from reaching and prematurely clogging your filter.
Balance Water Chemistry: Proper pH and alkalinity levels prevent scale buildup that can impede filter performance.
* Consider a Filter Aid: Products like clarifiers can help the filter trap smaller particles, improving water clarity.
Maintaining a clean pool filter is an effortless way to ensure your pool remains a pristine oasis. By understanding the specific needs of your sand filter or cartridge filter and implementing these smart, easy cleaning solutions, you’ll enjoy crystal-clear water, efficient chemical usage, and a longer lifespan for your valuable pool equipment. Regular proactive maintenance today means less hassle and more enjoyment tomorrow.