Pool Opening marks the highly anticipated beginning of endless summer fun, transforming a dormant backyard feature into a sparkling oasis. While the thought of prepping your pool for the season might seem daunting, with a structured approach and the right tools, it can be a surprisingly easy and rewarding process. This guide will walk you through the essential steps to ensure your pool is not just operational, but truly stunning and ready for a summer of relaxation and entertainment.
A proper and thorough pool opening is more than just removing the cover; it’s about safeguarding your investment, ensuring crystal-clear water, and providing a healthy swimming environment. Skimping on the initial steps can lead to frustrating water chemistry issues, equipment strain, and even costly repairs down the road. By following a methodical plan, you set the stage for a season of effortless enjoyment, rather than constant troubleshooting.
The Essential Checklist for a Smooth Pool Opening
Getting your pool ready for the season involves a series of logical steps. Tackling them in order will save you time and prevent headaches.
1. Gather Your Supplies:
Before you even touch the cover, ensure you have everything you’ll need. This includes a pool test kit (or chemical strips), essential balancing chemicals (pH increaser/decreaser, alkalinity increaser, calcium hardness increaser, stabilizer), shock treatment, algaecide (optional but recommended), a sturdy pool brush, a skimmer net, a vacuum system, and safety goggles and gloves. A hose for refilling and a good pump to clear the cover are also crucial.
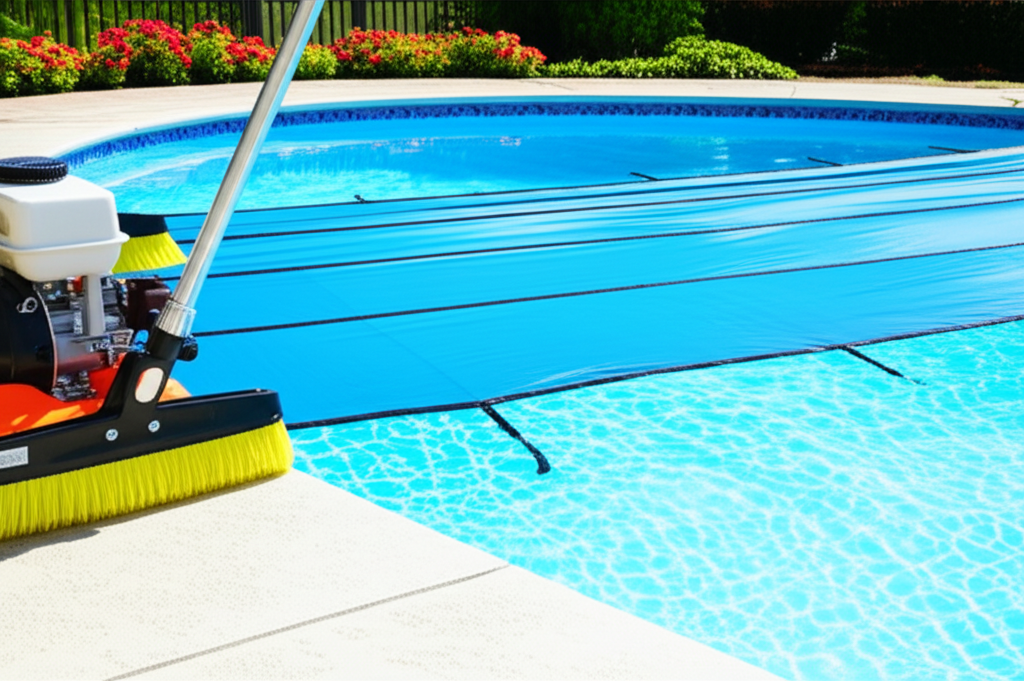
2. Safely Remove the Winter Cover:
This is often the messiest part. Begin by clearing as much debris and standing water as possible from the top of the cover. A submersible pump can quickly remove water, and a leaf blower can help with dry debris. Once the cover is mostly clean, carefully remove it, fold it (or roll it) away from the pool, and clean it thoroughly before storing it in a dry, pest-free area. This prevents mold and mildew and extends the cover’s lifespan.
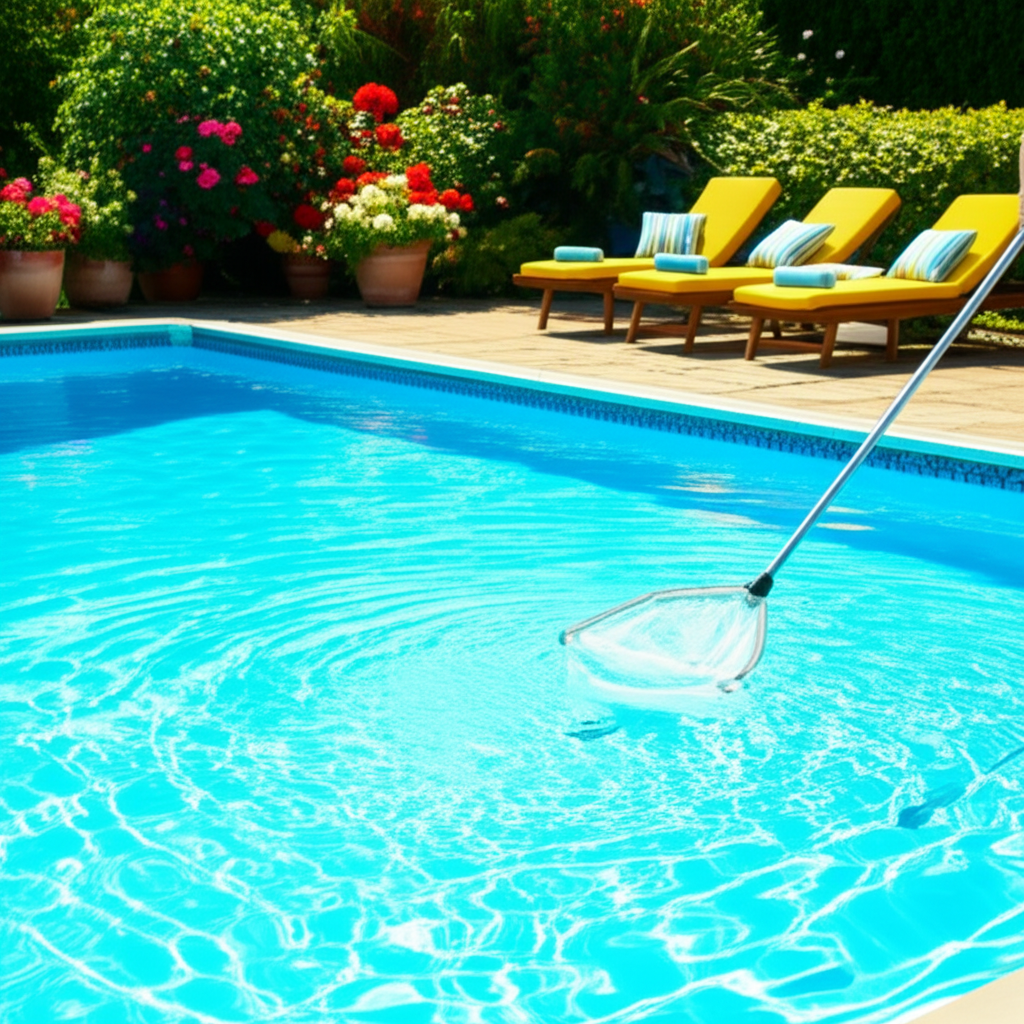
3. Initial Cleaning and Debris Removal:
With the cover off, your pool might resemble a swamp. Use a leaf net to scoop out large debris like leaves, twigs, and even small animals. Then, attach your pool brush to a telescopic pole and thoroughly brush the entire interior surface – walls, floor, and steps. This dislodges any settled dirt and algae, making it easier for your filtration system to pick up. Next, vacuum the pool. For heavily soiled pools, consider using a manual vacuum to waste, bypassing your filter and expelling debris directly to avoid clogging your system.
4. Reconnect All Pool Equipment:
Now it’s time to bring your pool’s circulatory system back to life. Reattach the drain plugs to your pump and filter, reconnect any hoses, and reinstall baskets in your skimmers and pump. If you have a heater or chlorinator, reconnect those as well. Inspect all O-rings and gaskets for wear and tear, replacing them if necessary to prevent leaks. Ensure everything is tightened but not overtightened.
5. Fill the Pool to Operating Level:
After a winter of evaporation or drainage, your pool’s water level might be low. Use a garden hose to fill the pool to its normal operating level, which is typically about halfway up your skimmer opening. This ensures your pump can prime correctly and efficiently circulate water.
6. Thorough Water Testing and Balancing:
This is perhaps the most critical step for pristine water. Take a water sample and test it for pH, alkalinity, calcium hardness, and your sanitizer level (chlorine, bromine, etc.). Adjust each chemical parameter slowly, adding chemicals one at a time, and allowing several hours or even a day of circulation between additions before retesting. The ideal ranges are:
pH: 7.4-7.6
Total Alkalinity: 80-120 ppm
Calcium Hardness: 200-400 ppm
Stabilizer (Cyanuric Acid): 30-50 ppm
7. Apply an Initial Shock Treatment:
Once your basic water parameters are balanced, it’s time to shock the pool. This involves adding a high dose of chlorine to rapidly kill off bacteria, algae, and other contaminants that have accumulated over the winter. Follow the product instructions carefully, often adding it at dusk to allow it to work overnight without being degraded by UV rays. Run the filter continuously for at least 24 hours after shocking.
8. Turn On Circulation and Filtration:
Once all equipment is reconnected, water levels are good, and chemicals have been added, switch on your pump and filtration system. Check for any leaks and ensure water is circulating properly through return jets. Backwash or clean your filter according to manufacturer recommendations after a few days, especially if the pool was particularly dirty.
9. Ongoing Monitoring and Adjustments:
Your pool opening isn’t a one-and-done event. For the first week or two, continue to test your water daily. Minor adjustments may be needed as the filtration system works through the remaining impurities. Consistency in testing and balancing is key to maintaining a healthy pool throughout the summer.
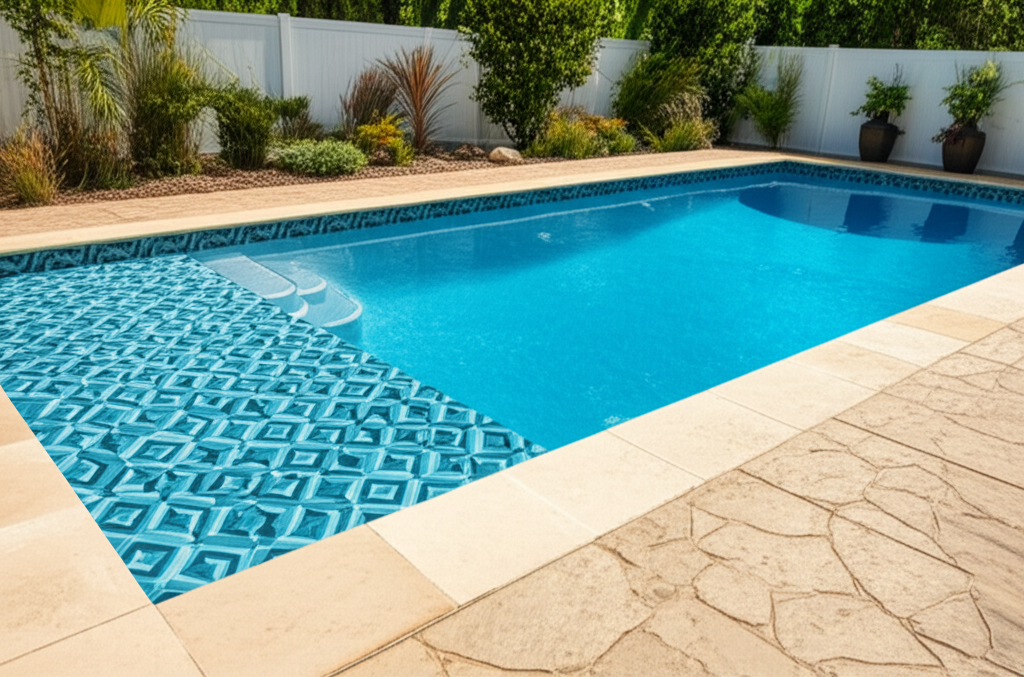
Elevating Your Summer Pool Prep to Stunning
Beyond the functional aspects, consider how you can elevate your pool area from merely operational to truly stunning.
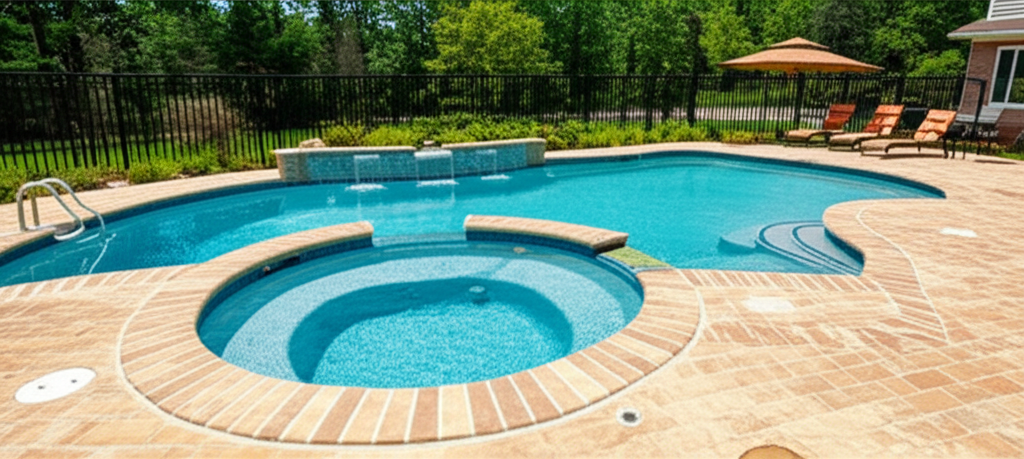
Landscaping Enhancements: Frame your pool with vibrant, low-maintenance plants. Consider potted plants for flexibility and color.
Strategic Lighting: Install LED lights in and around your pool for evening ambiance and safety. String lights or solar lanterns around seating areas create a magical glow.
Comfortable & Stylish Furnishings: Invest in weather-resistant loungers, dining sets, and perhaps an umbrella or shade sail. Comfortable seating encourages relaxation.
Entertainment Additions: Think about a portable sound system, floating drink holders, or even an outdoor projector for movie nights by the water.
* Accessorize: Add colorful towels, fun floats, and outdoor rugs to complete the inviting aesthetic.
By paying attention to both the practical and aesthetic elements of your pool area, you create a holistic outdoor living space that is as beautiful as it is functional.
A successful pool opening might require a day or two of focused effort, but the payoff is immense. Imagine the first dive into cool, clear water on a hot summer day, or the quiet evening spent lounging by the illuminated surface. With this comprehensive guide, you’re well-equipped to undertake your annual summer pool prep with confidence, ensuring your backyard oasis is ready for a season filled with stunning moments and cherished memories. Get ready to make a splash!