- Why Proper Pool Closing is Non-Negotiable
- Gearing Up: Essential Supplies for Winterizing a Pool
- Your Step-by-Step Guide to an Effective Pool Closing
- 1. Balance Your Water Chemistry
- 2. Thorough Cleaning is Key
- 3. Lowering the Water Level
- 4. Draining and Winterizing Equipment
- 5. Adding Winterizing Chemicals
- 6. Covering Your Pool
- Common Mistakes to Avoid
- Enjoy the Benefits of Proper Winterization
Pool Closing: Essential Protection for the Off-Season
Pool Closing is an indispensable ritual for any swimming pool owner, marking the transition from sun-drenched summer days to the colder, dormant months. While it might seem like a chore, properly winterizing your pool is not only easy but crucial for protecting your investment, simplifying spring opening, and extending the life of your pool and its equipment. Skimping on this vital process can lead to costly repairs, murky water, and a significant headache come next spring. This comprehensive guide will walk you through the essential steps for an effective and stress-free pool winterization.
Why Proper Pool Closing is Non-Negotiable
The primary goal of winterizing a pool is to prevent damage from freezing temperatures and to keep the water relatively clean and algae-free. Without proper pool closing, ice can expand and crack plumbing lines, damage skimmers, and even compromise the structural integrity of your pool walls. Moreover, neglecting water chemistry during the off-season can result in severe algae blooms, stubborn stains, and a host of other issues that will make reopening an arduous and expensive task. A well-executed winterization process acts as a protective shield, safeguarding your pool from the elements and ensuring a smooth, beautiful restart in the spring.
Gearing Up: Essential Supplies for Winterizing a Pool
Before you begin the physical work of pool closing, gather all necessary tools and chemicals. This preparation will streamline the process and prevent interruptions.
Pool Cleaning Tools: Skimmer net, pool brush, vacuum.
Water Chemistry Testing Kit: Strips or liquid test kit.
Balancing Chemicals: pH increaser/decreaser, alkalinity increaser, calcium hardness increaser.
Winterizing Chemical Kit: Algaecide, stain preventative, non-chlorine shock (often sold together).
Antifreeze: Pool/RV grade, non-toxic.
Expansion Plugs/Gizzmos: For skimmers and return lines.
Air Compressor/Blower: For blowing out lines (optional, but highly recommended).
Winter Pool Cover: Appropriate size and type for your pool.
Cover Accessories: Water bags, anchors, pillows (for above-ground pools).
Teflon Tape: For sealing threaded connections.
Your Step-by-Step Guide to an Effective Pool Closing
Embarking on the pool closing process might seem daunting, but by breaking it down into manageable steps, it becomes quite straightforward.
1. Balance Your Water Chemistry
Start the winterization process a few days before your planned closing date. The water must be perfectly balanced to prevent staining and algae growth during its dormant period.
pH: 7.4-7.6
Alkalinity: 80-120 ppm
Calcium Hardness: 180-220 ppm
Chlorine: 1-3 ppm
Adjust chemicals as needed and allow the pump to run for at least 24-48 hours to ensure proper circulation. Consider performing a super-chlorination (shocking) a few days prior to adding winterizing chemicals.
2. Thorough Cleaning is Key
A clean pool before closing is a happy pool in spring. Skim any debris from the surface, vacuum the pool floor thoroughly, and brush the walls to dislodge any clinging algae or dirt. Removing organic matter prevents it from decomposing over winter, leading to stains and nutrient sources for algae.
3. Lowering the Water Level
The depth to which you lower your water depends on your pool type and cover.
Mesh Cover: You typically only need to lower the water a few inches below the skimmer opening, as mesh covers allow meltwater to pass through.
Solid Cover: Lower the water level 4-6 inches below the skimmer, and below the return lines if possible, especially in areas prone to hard freezes. This prevents ice from damaging the skimmer and allows for proper line winterization. For above-ground pools, drain to just below the return jet.
4. Draining and Winterizing Equipment
This is a critical step to prevent freeze damage.
Remove Plugs: Drain water from your pump, filter (sand, cartridge, or DE), heater, and chlorinator by removing their respective drain plugs. Store the plugs safely.
Blow Out Lines: Use an air compressor or shop vac (set to blow) to push water out of all skimmer and return lines. As air bubbles out of the returns, plug them with expansion plugs. For the skimmer, fit a “Gizzmo” or plug the bottom opening. If you don’t have an air compressor, you can drain lines as much as possible and add pool-grade non-toxic antifreeze into the lines.
Store Equipment: Disconnect hoses from the filter and pump and store them indoors. For above-ground pools, remove the filter and pump completely and store them inside.
Backwash/Clean Filter: Perform a thorough backwash for sand filters. Remove and clean cartridges for cartridge filters. Disassemble and clean grids for DE filters.
5. Adding Winterizing Chemicals
Once the water level is set and lines are cleared, it’s time for winterizing chemicals. These typically include:
Winterizing Algaecide: To prevent algae growth.
Stain Preventative/Sequestering Agent: To prevent mineral staining.
Non-Chlorine Shock: To oxidize any remaining contaminants.
Follow the manufacturer’s instructions for dosages, distributing them evenly across the pool surface. Run the pump for a short period (15-30 minutes) to circulate the chemicals, then turn off all power to the pump, heater, and other equipment at the breaker.
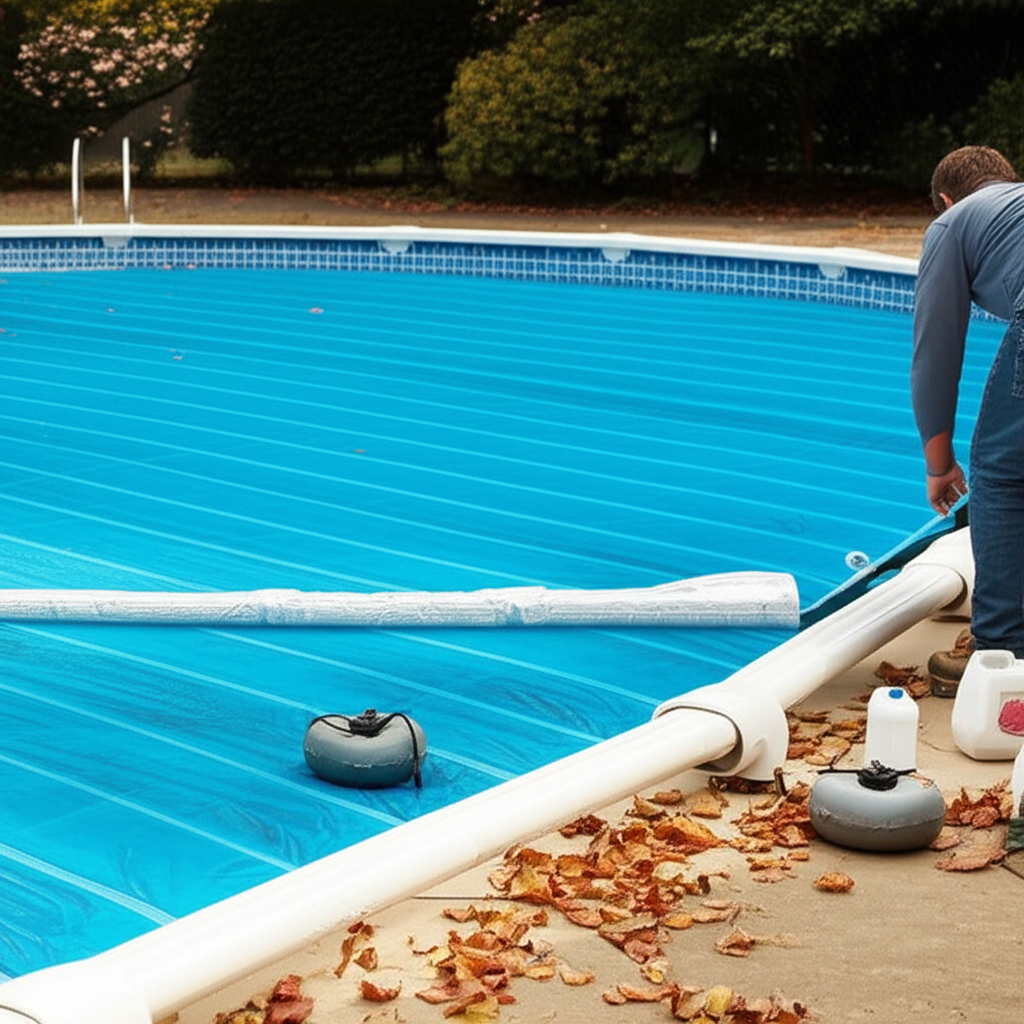
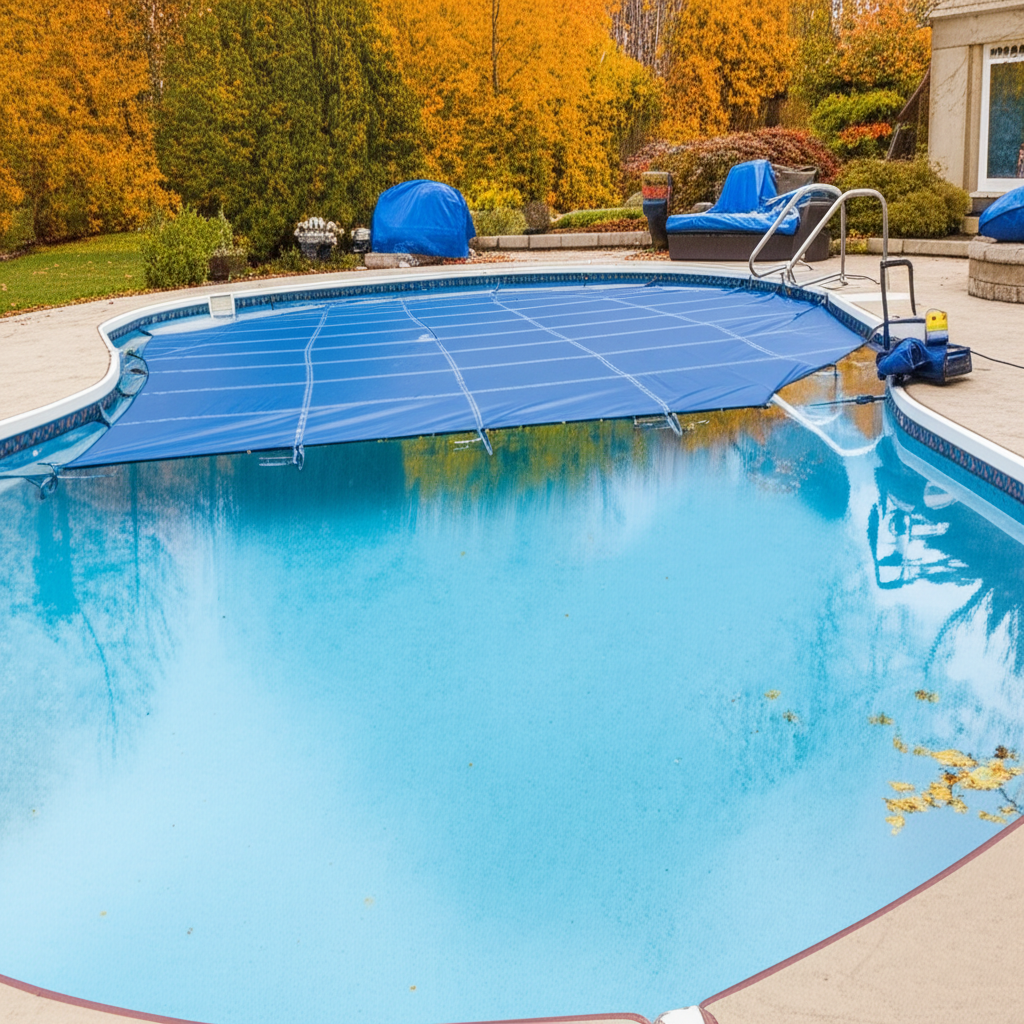
6. Covering Your Pool
The final act of pool closing is installing your winter cover. This serves multiple purposes: it keeps debris out, blocks sunlight (which fuels algae), and prevents accidental entry.
Above-Ground Pools: Use an air pillow under the cover to take up expanding ice and keep water from accumulating on the cover. Secure the cover tightly with a cable and winch system.
In-Ground Pools:
Solid Cover: Secure with water bags around the perimeter. Fill the bags 3/4 full to allow for ice expansion.
Mesh Safety Cover: These covers are secured to anchors in the deck. They are generally easier to install and offer superior safety.
Ensure the cover is snug and fully extends over the pool’s edges to prevent debris from blowing in.
Common Mistakes to Avoid
Waiting Too Long: Begin winterizing once temperatures consistently drop below 60°F (15°C) to prevent algae growth before covering.
Skipping Water Chemistry: Neglecting balance leads to stains and severe algae.
Forgetting to Drain Equipment/Lines: This is the number one cause of costly freeze damage.
Using Automotive Antifreeze: Only use pool/RV grade non-toxic antifreeze if needed for lines.
Not Cleaning Thoroughly: Leaves and debris become a feast for algae and bacteria.
Enjoy the Benefits of Proper Winterization
While the process of winterizing a pool demands some time and effort, the rewards are immense. By following these essential steps, you’ll protect your pool from the harsh realities of winter, prevent costly damage, and virtually guarantee you’ll have a crystal-clear, healthy pool ready for swimming when spring finally arrives. Think of it as putting your pool to bed for the season, ensuring it wakes up refreshed and ready for another year of enjoyment.