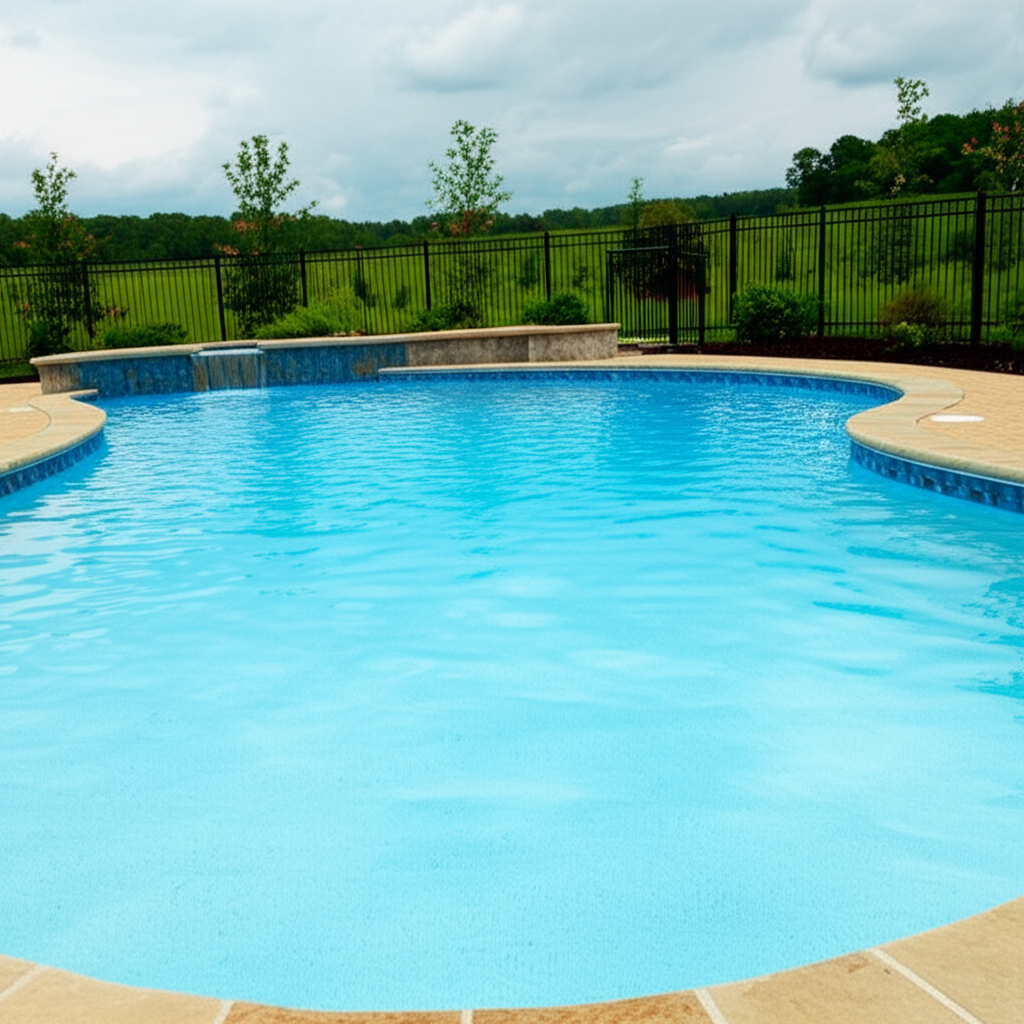
Your Ultimate Guide to Achieving a Perfectly Clean Pool
Pool vacuuming is an essential ritual for any pool owner, transforming a cloudy, debris-filled basin into a sparkling oasis. While automatic cleaners offer convenience, understanding the art of cleaning your pool—especially manual vacuuming—gives you complete control over the health and appearance of your water. This guide will walk you through everything you need to know to achieve the best clean possible, ensuring your pool is always ready for a refreshing dip.
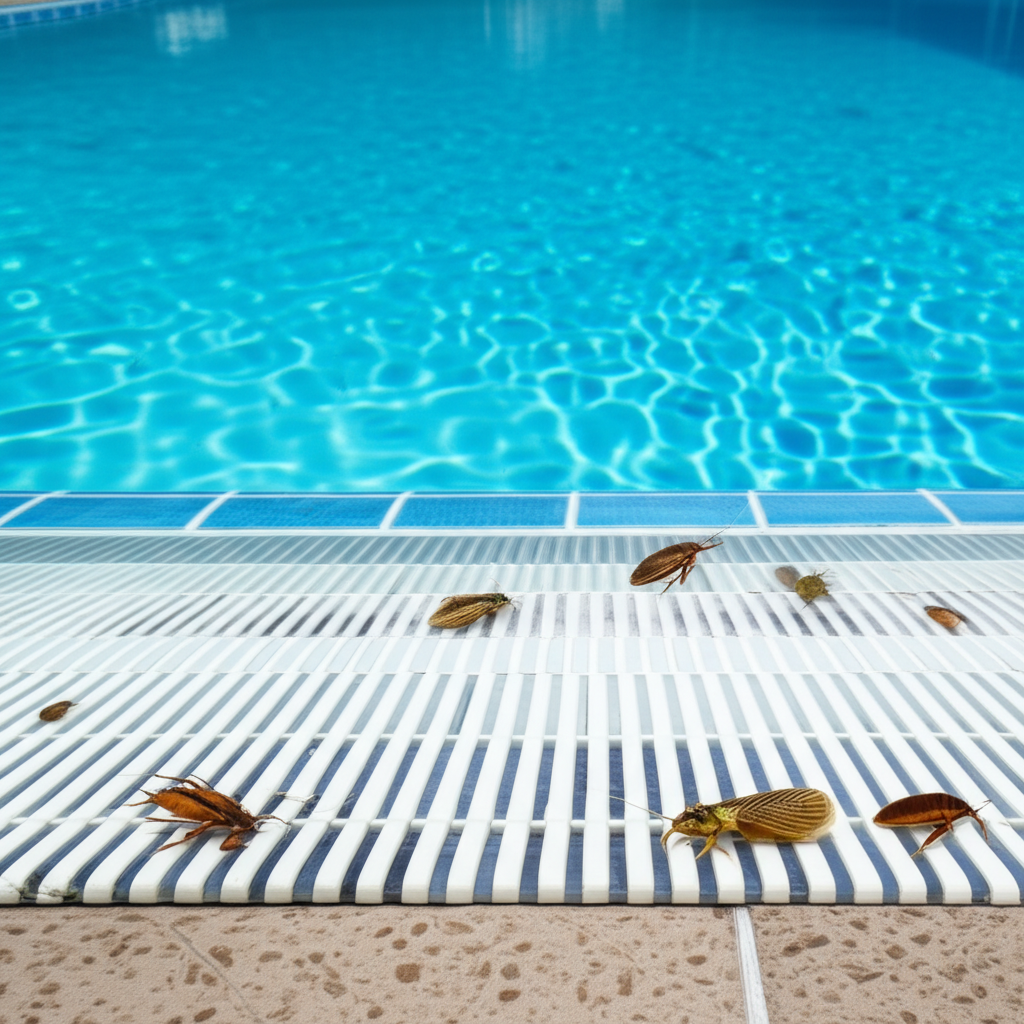
Beyond simply removing leaves and dirt, regular vacuuming plays a crucial role in overall pool maintenance. It helps maintain chemical balance by removing organic matter that consumes chlorine, prevents algae growth by eliminating its food source, and protects your pump and filter system from clogs and damage. Think of it as the foundation of a healthy, inviting swimming environment.
The Tools of the Trade: Manual vs. Automatic Cleaning
Before diving into the “how,” it’s important to understand your options. Pool cleaning generally falls into two categories: manual and automatic.
Manual Pool Cleaning: This hands-on approach uses traditional equipment that you guide yourself. It requires a telescopic pole, a vacuum head, a vacuum hose, and a skimmer vacuum plate. While it demands more time and effort, manual cleaning offers unparalleled precision. It’s perfect for targeted cleanups, heavy debris after a storm, or reaching tight corners that automatic cleaners might miss.
Automatic Pool Cleaners: These devices operate independently and come in three main types: suction-side, pressure-side, and robotic. They are fantastic for daily maintenance and keeping the pool tidy between deeper cleans. However, even pool owners with the best automatic cleaners benefit from performing a thorough manual vacuum every few weeks to ensure no spot is left untouched.
A Step-by-Step Guide to Flawless Manual Pool Vacuuming
For the most comprehensive clean, nothing beats a manual vacuum. Follow these steps to get professional-grade results every time.
Step 1: Gather and Assemble Your Equipment
Before you begin, make sure you have all your tools ready:
A telescopic pole
A vacuum head suitable for your pool surface (e.g., wheels for concrete, brushes for vinyl)
A long, flexible vacuum hose
A skimmer vacuum plate
Attach the vacuum head to the telescopic pole, and then connect one end of the hose to the vacuum head.
Step 2: Prime the Hose
This is the most critical step for success. An unprimed hose full of air will disrupt your pump’s suction and can even cause damage. To prime it, place the vacuum head and pole into the pool, sinking the head to the bottom. Then, feed the rest of the hose vertically into the water, allowing it to fill completely. You’ll know it’s primed when you see water coming out of the free end. Alternatively, you can hold the free end of the hose over one of your pool’s return jets to force water through it until all the air bubbles are gone.
Step 3: Connect to the Skimmer
With the hose full of water and free of air, connect the free end to your skimmer. First, remove the skimmer basket. Then, fit your vacuum plate securely over the top of the skimmer opening, plugging the hose into the designated hole. This directs all of the pump’s suction power through your vacuum hose.
Step 4: Set Your Filter to the Correct Setting
Your multi-port filter valve is your control center. For routine cleaning with light debris, leave the filter set to “FILTER.” This will pull water through the vacuum, into the filter, and return clean water to the pool.
However, if you’re dealing with significant debris, fine silt, or an algae bloom, it’s best to set the valve to “WASTE.” This setting bypasses the filter entirely, sending the dirty water directly out of your system. While this method results in water loss that will need to be replaced, it prevents you from clogging your filter with gunk.
Step 5: Begin Vacuuming
Now for the main event. Using slow, deliberate, and overlapping strokes, guide the vacuum head across the pool floor. Imagine you are mowing a lawn—you want to cover every inch without moving too quickly. Rushing will only stir up the debris, making the water cloudy and forcing you to wait for it to settle again. Start in the shallow end and work your way toward the deep end for the most effective results.
Step 6: Final Cleanup
Once the pool floor is clean, it’s time to wrap up.
1. Disconnect the vacuum hose from the skimmer before turning off the pump to avoid drawing air into the system.
2. Remove all of your equipment from the pool.
3. Clean out your skimmer basket and the pump’s lint pot, as they will have collected stray debris.
4. Check your filter’s pressure gauge. If the pressure is 8-10 PSI above its normal clean reading, it’s time to backwash or clean the filter.
5. If you used the “WASTE” setting, bring your pool’s water level back up to the midpoint of the skimmer opening. Finally, test and balance your pool chemicals.
By incorporating this detailed pool vacuuming routine into your maintenance schedule, you’re not just cleaning your pool—you’re preserving its longevity and ensuring it remains a safe, beautiful, and inviting centerpiece for your home.