- The Workhorse of Filtration: Understanding Your Cartridge Filter's Role
- The Essentials of Cartridge Filter Cleaning
- Step-by-Step Cartridge Filter Cleaning Process
- When to Clean Your Cartridge Filter
- Ensuring Flawless Cartridge Filter Operation
- Installation Best Practices
- Regular Checks and Maintenance Schedule
- Troubleshooting Common Issues Affecting Filter Operation
- Beyond Cleaning: When to Replace Your Cartridge
Mastering Your Cartridge Filter: Simple Maintenance for Peak Performance
Cartridge filters are an indispensable component in countless filtration systems, from ensuring sparkling clean swimming pools and spas to purifying drinking water in homes and industrial processes. Valued for their efficiency and compact design, these filters excel at trapping microscopic particles, sediment, and contaminants. However, their true magic – maintaining crystal-clear water and contributing to the longevity of your entire system – hinges on understanding not just how they work, but more importantly, how to care for them. With proper maintenance, specifically easy cleaning protocols, you can ensure their flawless operation day in and day out.
The Workhorse of Filtration: Understanding Your Cartridge Filter’s Role
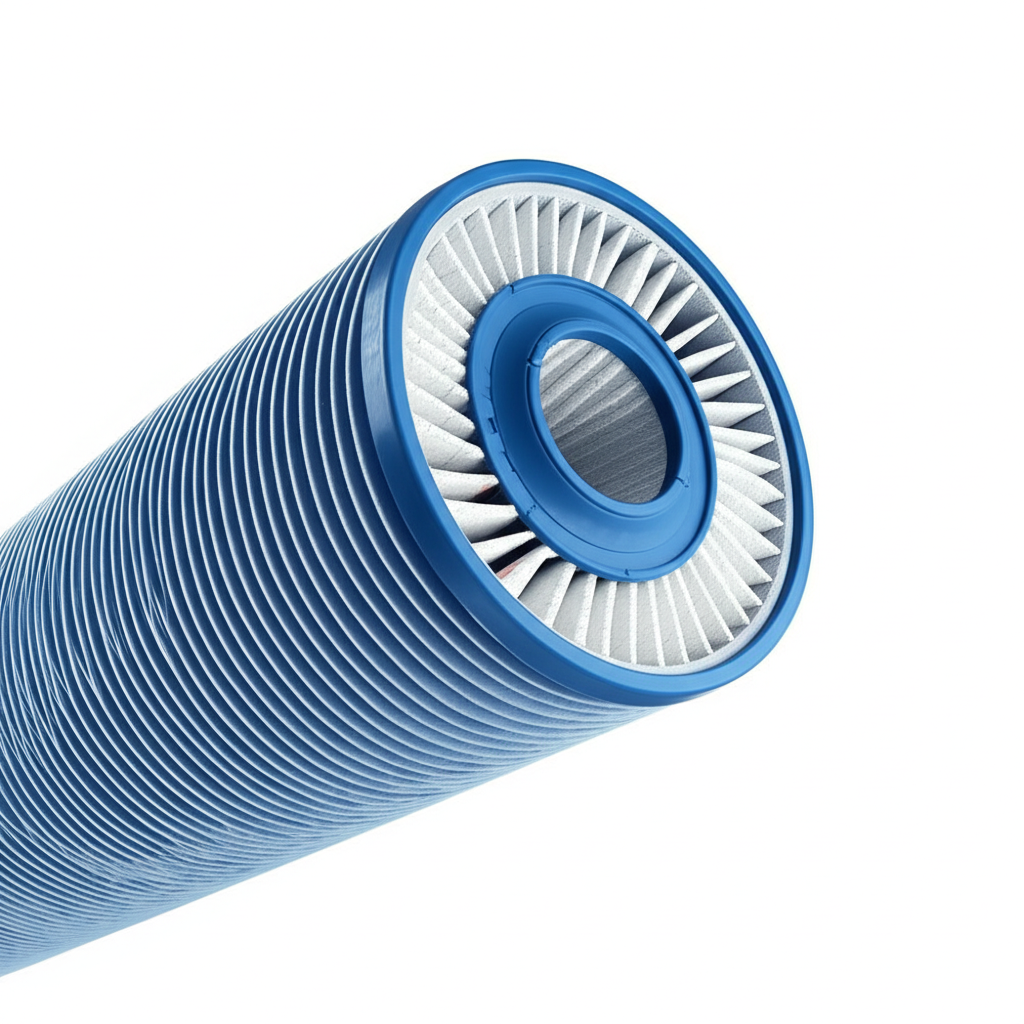
At its core, a cartridge filter operates on the principle of surface filtration. Water flows into a cylindrical housing and is forced through a finely pleated filter medium, typically made of polyester or synthetic fabric. As water passes through, impurities like dirt, debris, algae, and even some microscopic organisms are physically trapped on the surface of the pleats. Clean water then exits the filter and returns to the system.
This design makes cartridge filters incredibly effective at improving water clarity and quality in various applications. In pools, they significantly reduce the need for harsh chemicals by removing particulate matter. In residential water systems, they provide a barrier against sediment, protecting plumbing and appliances. For industrial applications, they safeguard sensitive equipment and ensure product purity. The continuous removal of these contaminants is vital for maintaining the overall health and efficiency of any water-dependent system, making the operation of your cartridge filter a critical success factor.
The Essentials of Cartridge Filter Cleaning
Over time, as a cartridge filter diligently traps contaminants, its pleats will accumulate debris. This build-up restricts water flow, causes the pressure within the filter housing to rise, and ultimately diminishes the filter’s effectiveness. Ignoring these signs leads to reduced system performance and can even strain your pump. This is why regular and proper Cartridge Filter Cleaning is not merely a chore, but an essential maintenance practice that directly impacts the filter’s lifespan and efficiency.
Step-by-Step Cartridge Filter Cleaning Process
Fortunately, cleaning a cartridge filter is a straightforward process that anyone can master with a few tools and a little know-how.
1. Safety First: Always begin by turning off the pump and any automatic controls connected to your filtration system. For pressurized systems like pools, be sure to open the air relief valve on the filter tank to release any pressure before proceeding.
2. Access the Cartridge: Open the filter housing clamp or lid according to the manufacturer’s instructions. Carefully remove the dirty filter cartridge(s). They might be heavy with trapped debris, so handle them with care.
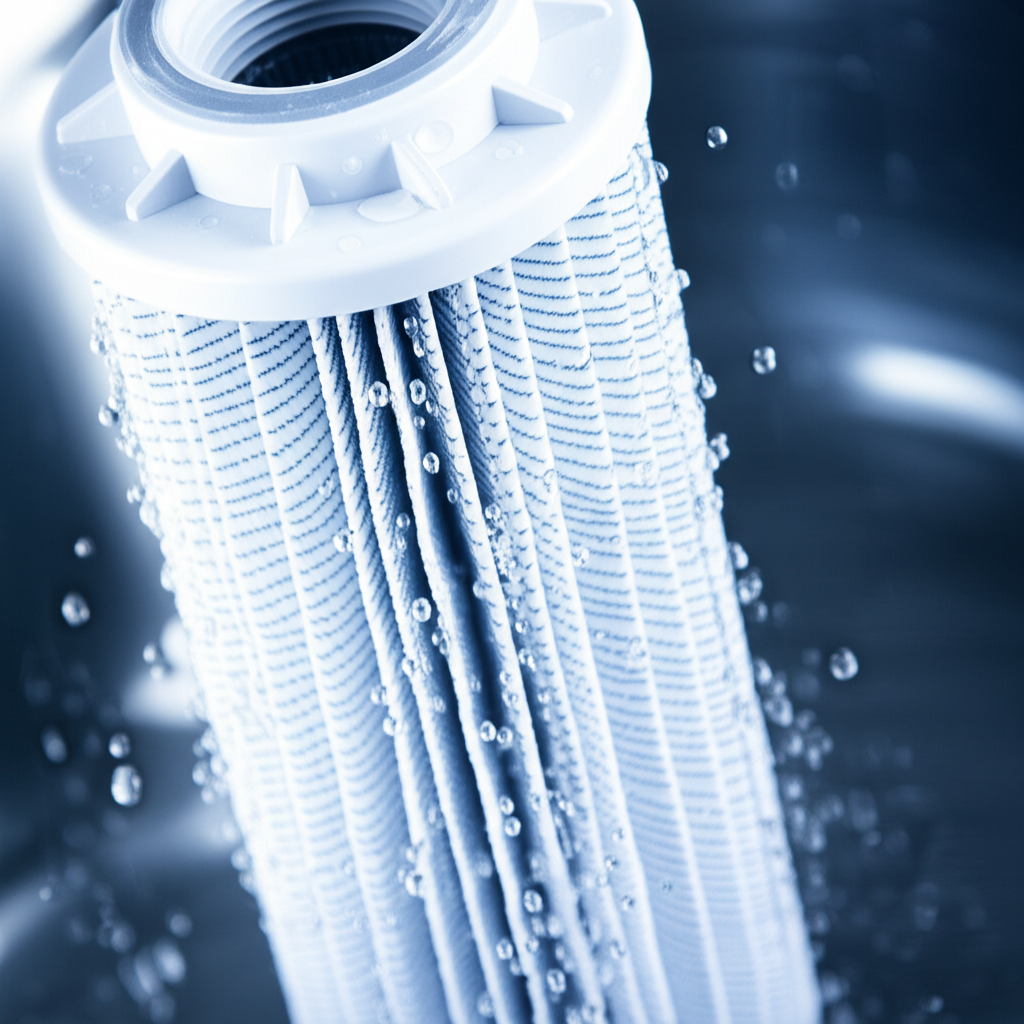
3. Initial Rinse: Using a standard garden hose with a spray nozzle (avoiding high-pressure washers, which can damage the filter pleats), thoroughly rinse the pleats from top to bottom. Work your way around the cartridge, getting into every fold to dislodge loose dirt and debris. This step removes the majority of the visible contaminants.
4. Chemical Soak (Optional but Recommended): For stubborn grease, oils, mineral deposits, or algae, a chemical filter cleaner is highly effective. Follow the product’s instructions for mixing and soaking. Typically, you’ll submerge the cartridge in a solution for several hours or overnight. This step breaks down tough residues that plain water can’t remove.
5. Final Rinse: After soaking, rinse the cartridge again thoroughly with the garden hose to remove all chemical residues and dislodged particles. Ensure the water running off the cartridge is clear.
6. Inspect and Reinstall: Before putting the cartridge back, inspect it for any tears, frayed pleats, or damaged end caps. Also, check the O-ring inside the filter housing for cracks or wear; lubricate it with a silicone-based lubricant if needed. Carefully reinsert the clean cartridge(s) into the housing, secure the lid, and close the air relief valve after the pump is restarted and water begins to circulate.
When to Clean Your Cartridge Filter
The frequency of cleaning depends on several factors: the size of your filter, the volume of water being filtered, the amount of debris in the water, and manufacturer recommendations. For pool filters, a general guideline is every 4-6 weeks, or sooner if:
Pressure Gauge Reading: The pressure gauge on your filter tank rises 8-10 PSI (pounds per square inch) above its normal clean operating pressure. This is the most reliable indicator of a clogged filter.
Reduced Flow: You notice a significant decrease in water flow or circulation.
Visible Debris: You can physically see a heavy build-up of dirt on the filter’s pleats.
Water Clarity Deterioration: Despite proper chemical balance, your water remains cloudy.
Ensuring Flawless Cartridge Filter Operation
Beyond routine cleaning, several practices contribute to ensuring your filter operates flawlessly and extends its overall service life. It’s a holistic approach to maintenance that goes beyond just scrubbing pleats.
Installation Best Practices
Correct installation is the first step towards optimal performance. Ensure your filter is appropriately sized for your system’s flow rate and volume. During installation, always verify that O-rings and gaskets are properly seated and lubricated, creating a tight seal. Any air trapped in the system can hinder filtration efficiency and even lead to pump cavitation, so proper venting after refilling the system is crucial.
Regular Checks and Maintenance Schedule
Monitor Pressure: Consistently observe your filter’s pressure gauge. Learning the “normal” operating pressure when the filter is clean allows you to easily identify when cleaning is due.
Inspect Seals and O-Rings: Each time you open the filter housing, take a moment to inspect the O-ring. A cracked or dry O-ring can lead to air leaks or water bypass, compromising filtration. Lubricate annually or as needed.
Examine the Cartridge: Even after cleaning, visually inspect the filter media for signs of wear, such as tears, rips, or pleats that have become matted or stiff.
Chemical Balance (for Pool/Spa): Maintaining proper water chemistry prevents excessive algae growth and mineral scaling, which can quickly foul a filter.
Troubleshooting Common Issues Affecting Filter Operation
Low Flow: This often indicates a dirty cartridge, but it could also be an issue with air in the system, a clogged pump basket, or an undersized pump.
Poor Filtration/Cloudy Water: If water remains cloudy after cleaning, the cartridge might be damaged (allowing water to bypass), or the chemicals might be unbalanced. Ensure the cartridge is securely seated and the filter housing is sealed.
Excessively High Pressure: A very dirty filter is the primary culprit. If pressure remains high immediately after cleaning, inspect for kinks in plumbing lines or closed valves downstream.
Beyond Cleaning: When to Replace Your Cartridge
While thorough cleaning significantly extends the life of your cartridge filter, it’s important to remember that they do not last forever. Even with diligent maintenance, the filter media will eventually degrade, lose its effectiveness, or become permanently clogged, making cleaning less impactful.
Signs it’s time for a replacement include:
Frayed or Torn Fabric: Visible damage to the pleats or end caps.
Matted or Glued Pleats: If the pleats are no longer distinct and appear stuck together even after cleaning, the filter’s surface area is compromised.
Consistently High Pressure: If the pressure gauge reads high shortly after a thorough cleaning, the cartridge is likely spent.
* Declining Water Quality: Despite proper maintenance, if water clarity issues persist, a new cartridge is often the solution.
Replacing your cartridge filter at the appropriate time ensures maximum filtration efficiency, protects your equipment, and maintains the best possible water quality.
—
In conclusion, understanding and implementing a routine of easy Cartridge Filter Cleaning is paramount to achieving and sustaining flawless operation. By adhering to a simple cleaning schedule, performing regular inspections, and knowing when to replace a worn-out cartridge, you not only preserve water quality but also extend the life of your filtration system and related equipment. This proactive approach to maintenance is a small investment of time that yields significant returns in efficiency, performance, and peace of mind.